Physical Address
304 North Cardinal St.
Dorchester Center, MA 02124
Physical Address
304 North Cardinal St.
Dorchester Center, MA 02124

Cordyceps militaris can be grown on brown rice in jars, but it needs sterile technique and controlled light. Here's the process step by step, with conditions and yields from published research.
Cordyceps has gone from an obscure caterpillar fungus to an ingredient in capsules, powders and mushroom coffees. One species, Cordyceps militaris, can be grown on grain in jars, which has led many home growers to ask whether they can produce its bright orange fruiting bodies themselves.
The short answer is yes, but it’s one of the more technical mushrooms to grow. This guide explains how Cordyceps militaris is cultivated, based on published research and a cultivation protocol from an Indian research institute, and what makes it different from growing oysters or shiitake.
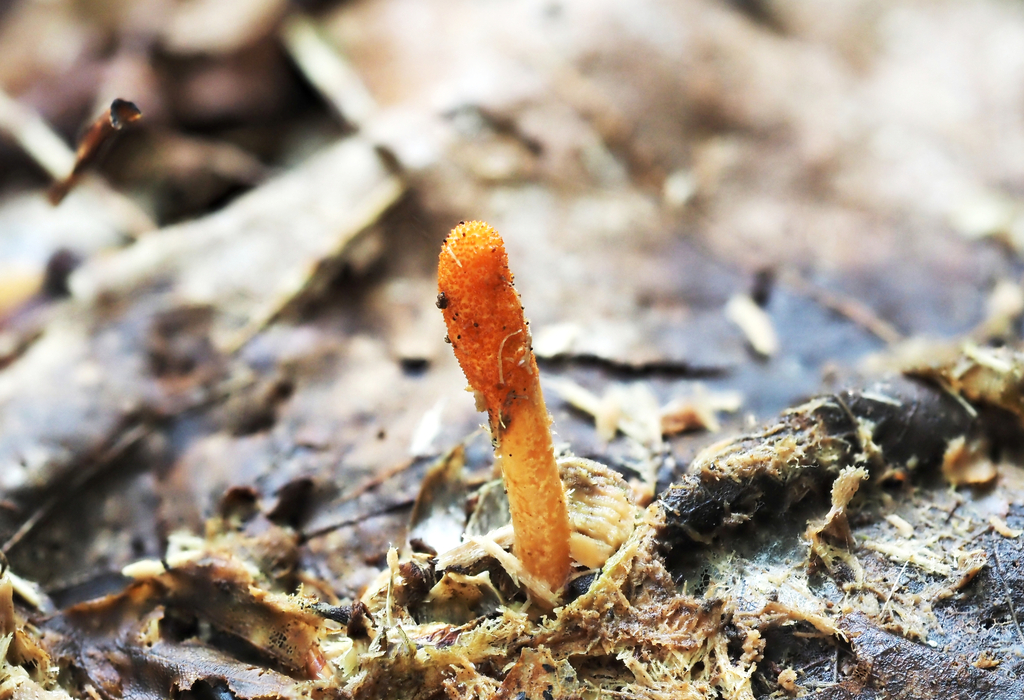
Memorial Sloan Kettering Cancer Center describes cordyceps as “a fungus that grows on the caterpillar of a moth.” Wild Cordyceps militaris produces small orange club-shaped fruiting bodies like the one in our photo. In the cultivation studies covered here, it’s grown mainly on grain, especially brown rice, although some research has used insects such as silkworm pupae.
If you want the background on the cordyceps story, including the related caterpillar fungus from the Himalayas, our article on cordyceps as an energy supplement covers it. This guide focuses on growing.
Much of the research on C. militaris centres on a compound called cordycepin. A 2021 review in the Journal of Fungi by Kontogiannatos and colleagues summarised many studies on how growing conditions affect fruiting body yield and cordycepin levels. It found that cordycepin levels in fruiting bodies vary widely, from about 1 mg per gram to more than 77 mg per gram in the studies it covered, depending on strain, substrate and treatment.
That variability is a useful warning for growers: two jars of “cordyceps” can be very different products.
| Feature | Cordyceps militaris | Typical beginner mushrooms such as oysters |
|---|---|---|
| Substrate | Grain, usually brown rice, often with a nutrient broth | Straw, sawdust or coffee grounds |
| Sterility | Fully sterilised substrate and clean inoculation | Pasteurised substrate is often enough |
| Inoculation | Spores or liquid culture added to jars, often in a flow hood | Grain spawn mixed into bulk substrate |
| Light | Light is part of the process, often with set hours and intensity | Light is needed but usually less precisely controlled |
| Harvest | Orange stalks harvested from the jar, usually weeks after inoculation | Clusters harvested from bags or buckets |
Based on the published protocols covered here, a typical setup includes:
If you’re new to sterile work, our guide to agar and liquid culture basics is a good place to start.
The Gujarat Institute of Desert Ecology in India publishes a standard operating procedure (SOP) for growing C. militaris. Here’s how it breaks down, with details from two research papers added where they help.
The SOP uses a grain-based brown rice substrate, soaked in water for 20 minutes and placed in jars with nutrient media. Research recipes give a sense of the proportions:
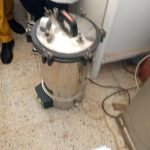
The SOP says to autoclave or pressure-cook the jars at about 121°C (250°F) for 1 to 2 hours, then let them cool to room temperature before inoculating. Our guide to sterilising substrate with a pressure cooker covers the basics.
Working in a laminar flow hood, the SOP transfers culture into each jar with a sterile tool and then seals it. The research studies used liquid cultures: Wiengmoon’s team added 3 mL of mycelial culture per bottle, and Balooni’s team injected 10 mL of diluted liquid spawn.
The SOP keeps jars at 25 to 28°C (77 to 82°F), with high humidity and low light, for 2 to 4 weeks. Both research papers kept the cultures in darkness at first. Balooni’s team incubated jars in the dark until the mycelium covered the medium, and Wiengmoon’s team kept them dark for the first week.
This is where light and temperature change. The SOP lowers the temperature to about 18 to 22°C (64 to 72°F), raises humidity to 95% or more, and gives indirect light for 12 hours a day.
The research papers used more specific light settings:
| Source | Temperature | Light | Humidity |
|---|---|---|---|
| Gujarat SOP | About 18 to 22°C for fruiting | Indirect light, 12 hours a day | 95% or more |
| Balooni et al. (2025) | 20°C | 500 to 800 lux, 10 hours a day, after a dark spawn run | 60 to 70% |
| Wiengmoon et al. (2019) | General guide in the paper: 18 to 22°C to start stroma, 10 to 25°C for fruiting | About 500 lux in the test chambers. The paper’s general guide is 400 to 500 lux to start stroma and 800 to 1,000 lux for fruiting | About 80 to 90% in the culture room |
Balooni’s team also ventilated the bottles for 30 minutes a day and removed the cotton plugs once the mycelium turned orange-yellow. The sources differ on humidity, so treat these numbers as starting points rather than fixed rules.
According to the SOP, fruiting bodies first appear as small orange bumps and then lengthen. They are cut at the base with sterile scissors or a knife. The SOP says they are usually ready “after 2-3 weeks”. In Wiengmoon’s study, primordia appeared at weeks 3 to 4, and mature fruiting bodies were harvested at week 7. In Balooni’s study, fruiting bodies on brown rice took about 48 days to mature.
Yields in the research are modest and measured per jar:
| Study | Substrate | Fresh yield per bottle |
|---|---|---|
| Wiengmoon et al. (2019) | Brown rice with nutrient broth | 17.78 to 19.05 g |
| Balooni et al. (2025) | Brown rice (control) | 15.03 g |
| Balooni et al. (2025) | Tea waste | 10.00 g |
| Balooni et al. (2025) | Poultry litter | 2.83 g |
Balooni’s team found that brown rice gave the fastest maturation and the highest yield. Sawdust, coco peat, rice straw and wheat straw produced no fruiting bodies at all. That’s a key difference from oyster mushrooms, which grow well on straw.
Wiengmoon’s team also showed that equipment doesn’t have to be expensive. A modified drinks cooler with LED lighting and a temperature controller produced yields similar to a commercial growth chamber, and the authors said it “can be beneficially used as culturing chamber for Cordyceps.”
A 2020 study by Supaporn Awaran in Thailand’s Journal of Vocational Education in Agriculture compared nine media made with jasmine or riceberry brown rice. The best formula, jasmine brown rice with one of the nutrient media, gave 3.9 g of dried fruiting bodies, though several formulas performed similarly.
C. militaris has a reputation for “degeneration”: cultures that gradually lose their ability to fruit well. The 2021 Journal of Fungi review lists practices reported to help, including:
The review also notes that degenerated strains could be rejuvenated by passing them through an insect host, which is beyond most home setups. For home growers, the practical lesson is to start from a reliable culture and avoid endlessly re-culturing from your own jars.
Because cordyceps grows on a rich, sterilised grain medium over several weeks, contamination by moulds and bacteria is a constant risk. Sterilise thoroughly, work cleanly, and discard any jar showing unexpected colours or smells. Our guide to preventing contamination covers the signs to look for.
Growing cordyceps is a hobby or a business. It doesn’t turn the fruiting bodies into proven medicine. Memorial Sloan Kettering Cancer Center notes that cordyceps may lower blood sugar and may increase the risk of bleeding, so people taking diabetes medication or blood thinners such as warfarin should talk to their healthcare provider before using it. It adds that “Herbal supplements are stronger than the herbs you’d use in cooking.” Our look at cordyceps and exercise performance reviews what the evidence shows.
Cordyceps militaris can be grown at home, but it’s an intermediate to advanced project. Published protocols use sterilised brown rice with a nutrient broth in jars, a clean inoculation, a dark colonisation period at around 25°C, and then cooler temperatures, high humidity and regular light to trigger the orange fruiting bodies. Expect several weeks from inoculation to harvest and yields of around 15 to 19 g of fresh fruiting bodies per bottle in research settings. Keep your cultures fresh, work cleanly, and treat health claims with caution.
Featured image: wild Cordyceps militaris by Sigrid Jakob via iNaturalist (CC0 1.0).