Physical Address
304 North Cardinal St.
Dorchester Center, MA 02124
Physical Address
304 North Cardinal St.
Dorchester Center, MA 02124

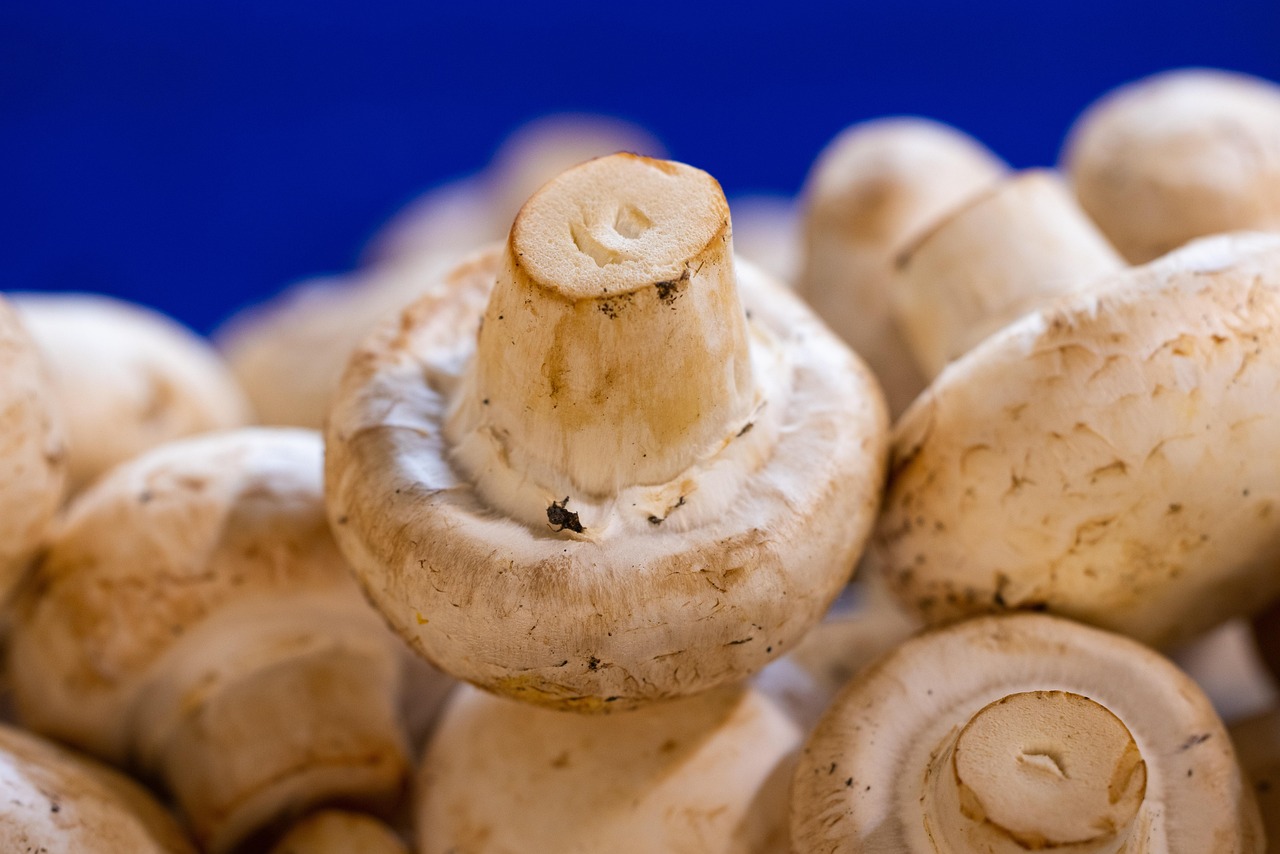
Button mushrooms need fermented compost, a casing layer, and a cool room. Here is how the process works, stage by stage, and how to get a good crop from a home kit.
Yes, you can grow white button mushrooms at home, but they are a different project from the oyster kits and shiitake logs most beginners start with. Button mushrooms (Agaricus bisporus, the same species sold as cremini and portobello) do not grow on straw or wood. They need a specially fermented compost, a separate “casing” layer on top, and a cool, humid room to fruit. For most home growers the realistic route is a ready-made compost kit that you case and fruit yourself; making button mushroom compost from scratch is possible, but it is smelly, slow, and easy to get wrong.
This guide walks through the whole process in the order it happens, with the temperatures and timings used by university extension services, so you understand what a kit is doing for you and what you still need to get right.
Most popular home-grown mushrooms are wood or straw decomposers. Button mushrooms instead feed on compost that other microbes have already partly broken down. That changes almost every step of the process.
| Feature | Oyster or shiitake | Button mushroom |
|---|---|---|
| Growing medium | Pasteurised straw, sawdust blocks, or logs | Fermented, pasteurised compost (traditionally horse manure and straw) |
| Extra layer | None | A casing layer, usually peat-based, spread over the colonised compost |
| Fruiting temperature | Varies by strain; many oysters tolerate warmth | Cool, around 60 to 66°F (about 16 to 19°C) in commercial practice |
| Typical home start | Ready-to-fruit block or bucket | Spawned compost kit plus casing |
If you are new to growing, our guide to the best mushrooms to grow at home explains why oysters are usually the first step. Button mushrooms make a good second or third project once you are comfortable managing moisture and cleanliness.
Penn State Extension, home to one of the leading mushroom research programmes in the United States, describes commercial Agaricus production as six steps: Phase I composting, Phase II composting, spawning, casing, pinning, and cropping. A home grower follows the same biology on a smaller scale.
Commercial growers build compost from straw-bedded horse manure or hay and straw, add nitrogen supplements and gypsum, wet it, and turn it repeatedly. Microbes heat the pile, and the material becomes dark brown, pliable, and strongly ammonia-scented. Penn State notes that microbial activity stops if the compost goes above about 70°C (155°F), so piles are managed rather than simply left.
Phase II has two jobs. First, the compost is pasteurised by holding it at 60°C (140°F) for at least two hours to kill pests and competing organisms. Second, it is conditioned at slightly lower temperatures so that beneficial microbes consume the remaining ammonia. According to Penn State, ammonia above 0.05% inhibits spawn growth, and above about 0.10% it is easily smelled and toxic to the mushroom. This is the main reason home-made compost often fails: it still contains ammonia when spawned. For more on why heat treatment is so important, see our explainer on sterilisation versus pasteurisation.
The University of Florida’s extension document on Agaricus, written for gardeners, describes a simpler home version: fermenting compost at about 60°C (140°F) for four to six days until the ammonia smell fades. That shortcut can work, but it gives you less control than a commercial Phase II.
Spawn is grain or another carrier already colonised by mushroom mycelium. It is mixed through or planted into the finished compost. The UF/IFAS document suggests either scattering it or planting small pieces about 4 cm (1.5 inches) deep and roughly 25 cm (10 inches) apart. Penn State keeps freshly spawned compost at about 24 to 25°C (75 to 77°F) with high humidity, and warns that temperatures above roughly 27 to 29°C (80 to 85°F), depending on the strain, can damage the mycelium.
During the spawn run, white mycelium spreads through the compost. Penn State gives a typical spawn run of 14 to 21 days. You are looking for compost that is evenly threaded with white mycelium and is no longer producing much heat of its own.
Casing is the step that most surprises new growers. Button mushrooms will rarely fruit well straight from compost. Instead, the colonised compost is covered with a layer of moist, low-nutrient material. Penn State describes casing as mainly sphagnum peat moss, limed with ground limestone to a pH of about 7.5, and explains that it triggers the switch from vegetative growth to fruiting, holds water, and supports the developing mushrooms. The UF/IFAS gardener’s guide suggests a casing layer about 2.5 cm (1 inch) deep, applied two to three weeks after spawning.
Once mycelium grows up into the casing, growers lower the temperature and increase fresh air. Penn State gives cropping air temperatures of 60 to 66°F (about 16 to 19°C) and carbon dioxide levels of about 1,000 to 2,500 ppm during pinning and cropping. In commercial houses the first mushrooms are usually ready 15 to 21 days after casing, about seven to eight weeks after composting began. The UF/IFAS document recommends a cooler range of 10 to 17°C (50 to 62°F) for home trays, relative humidity above 70%, and notes that tiny mushrooms appear about three to four weeks after casing.
A button mushroom kit usually contains compost that has already been composted, pasteurised, spawned, and often colonised, plus a bag of casing. Kit instructions differ, so always follow the supplier’s directions first. The steps below reflect a typical kit and the extension guidance above.
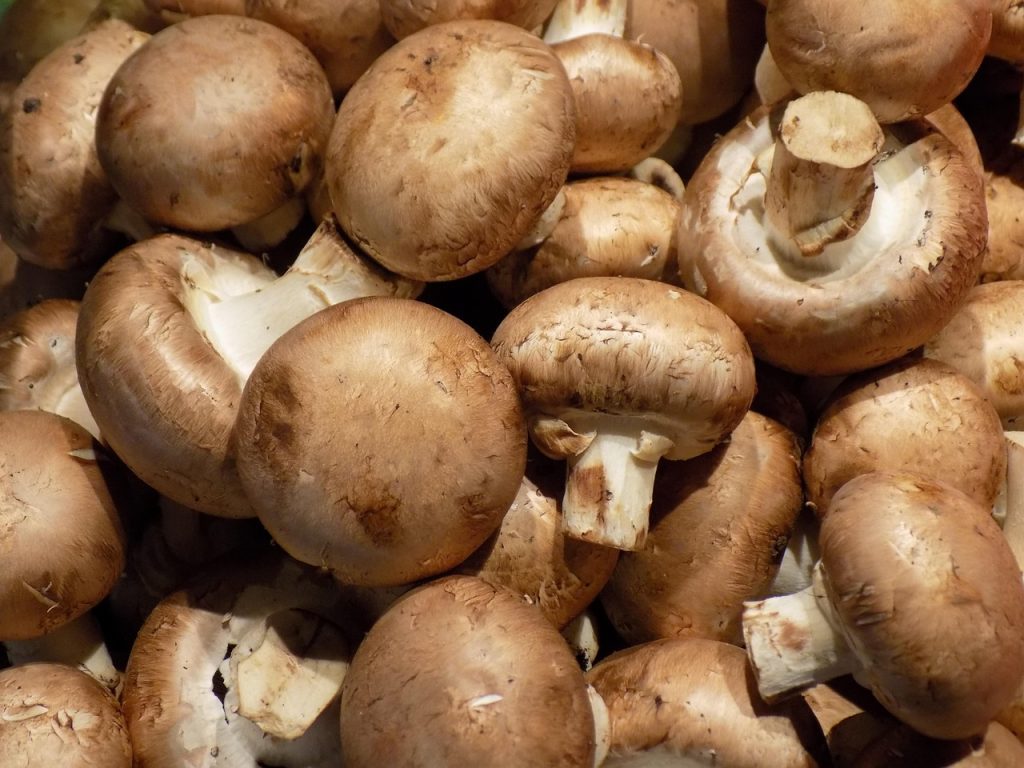
You do not need different seeds for each. As our explainer on button, cremini, and portobello mushrooms describes, they are the same species at different stages, and white and brown strains exist. Pick white strains young for buttons; let brown strains open for flat portobellos. Harvest before the cap fully opens if you want closed buttons, because once the veil under the cap tears, the gills darken as spores mature.
| Stage | Air or compost temperature | Humidity and air | What you should see |
|---|---|---|---|
| Spawn run (in compost) | About 24 to 25°C (75 to 77°F) compost | High humidity, little fresh air needed | White mycelium spreading through compost |
| After casing | Similar to spawn run until mycelium reaches the casing surface | Keep casing moist; cover loosely | White threads growing up into casing |
| Pinning and cropping | About 60 to 66°F (16 to 19°C) air in commercial houses; 10 to 17°C (50 to 62°F) suggested for home trays | Relative humidity above 70%; regular fresh air | Pins, then buttons in flushes |
The figures above come from Penn State Extension and UF/IFAS. Home conditions will not match a commercial growing room, so treat them as targets. Our guide to humidity, fresh air, and light explains how to adjust these factors without creating new problems.
Making button mushroom compost from scratch is how the industry began, and some keen gardeners still try it. Before you commit, consider what the extension guides describe:
For most people, the best results come from buying a spawned compost kit or ready-to-case compost from a reputable supplier. If you want to experiment, start small and treat your first batch as a learning exercise.
Penn State’s integrated pest management material lists several fungal diseases that affect Agaricus crops. Home growers meet the same problems on a small scale, usually because of excess water, poor hygiene, or spent compost left lying around.
| Problem | What it looks like | Likely contributing factors | What to do |
|---|---|---|---|
| Green mould (Trichoderma) | White patches that turn green on the casing or compost, with no mushrooms growing there | Contaminated compost, tools, or hands | Remove the affected area if small, keep the rest clean, and discard badly affected kits away from the growing area |
| Cobweb | Fluffy white, grey, or pinkish mould spreading over the casing and mushrooms | High humidity and wet caps | Reduce misting, improve air movement, remove affected mushrooms carefully |
| Dry bubble | Distorted, lumpy mushrooms or spotted caps | Spread by water splash, tools, and flies | Remove affected mushrooms without touching healthy ones; clean tools |
| Long stems, small caps | Mushrooms that look leggy | Too little fresh air (high carbon dioxide) | Open the cover more or ventilate the room |
| Cracked or scaly caps | Dry, split cap surfaces | Air too dry | Raise humidity around the casing, avoid draughts |
| No pins at all | Mycelium on casing but no mushrooms | Too warm, too dry, or too little fresh air | Move to a cooler spot, mist lightly, increase air exchange |
Penn State’s research shows how serious green mould can be commercially: in Pennsylvania, crop losses from the disease ranged from 30 to 100% between 1994 and 1996. Its fungal disease guide for organic farms stresses sanitation above all. Our general guide to spotting and preventing contamination applies just as well to button mushroom kits.
Safety note: do not eat mushrooms from a kit that is visibly mouldy, smells rotten, or produces mushrooms you are not sure about. If the kit is contaminated, bag it and dispose of it away from your growing area.
Yields vary widely with the compost, strain, and conditions. Penn State reports that U.S. commercial farms averaged around 5.75 lb of mushrooms per square foot of growing bed in 2001, with well-run farms exceeding 8 lb. Those figures come from purpose-built, climate-controlled houses with deep beds of professionally prepared compost; a home kit in a spare room will produce much less. Treat any yield claim on a kit box as an estimate rather than a promise.
When harvest arrives, pick little and often. Button mushrooms grow quickly once they size up, and caps soon open if left. Our guide on how to know when to harvest mushrooms covers storage and handling after picking.
When flushes slow to a trickle, the compost is “spent”. Commercial farms steam-pasteurise spent compost before it leaves the growing room so pests and diseases do not spread to the next crop. At home, avoid keeping spent kits next to new ones. Many gardeners add spent mushroom compost to garden beds or a compost heap. Remember that it contains gypsum and limed casing from the growing process, so mix it into the soil or heap rather than using it neat around acid-loving plants.
Button mushrooms reward patience and a cool room rather than special equipment. Start with a spawned compost kit, apply the casing loosely and evenly, keep it moist but never soggy, give the mushrooms fresh air, and keep the room cool, around 60°F (mid-teens Celsius). If you fall in love with the process, you can then decide whether to try making your own compost. Either way, you will have a much deeper appreciation for the humble mushroom on the supermarket shelf.
Featured image: fresh button mushrooms by Engin_Akyurt via Pixabay (Pixabay Content License).