Physical Address
304 North Cardinal St.
Dorchester Center, MA 02124
Physical Address
304 North Cardinal St.
Dorchester Center, MA 02124

Make your own grain spawn: choosing a grain, soaking and draining, lime and gypsum, sterilisation times, three ways to inoculate, incubation and shaking, contamination checks and storage, all from published procedures.
Grain spawn is the engine of most mushroom growing. It is simply cereal grain that has been sterilised and then fully colonised by mushroom mycelium. Once you have it, you can mix it into straw, sawdust, coffee grounds or more grain, and grow far more mushrooms than a kit will give you.
Buying spawn is easy, but making your own teaches you sterile technique and saves money once you are growing regularly. This tutorial walks through the whole process, from choosing a grain to storing the finished spawn. It draws on published lab procedures, a research study and practical guides, which are listed at the end.
If you are new to the idea, our explainer on grain, sawdust and plug spawn covers what spawn is and the different types.
A lesson on spawn production from India’s National Institute of Open Schooling (NIOS) sums up the goal. Good spawn should be fully colonised by mycelium, free of contaminants, and fresh. It adds that “Fresh spawn gives higher yield” and that spawn should not be stored for more than a month. That shapes the whole process. You want clean grain, a full sterilisation, a clean inoculation and steady incubation, and then you want to use the spawn while it is vigorous.
NIOS says wheat is the most commonly used grain, with sorghum and pearl millet as alternatives. The Mushroom Guide, a practical series published on Lowimpact.org, names wheat, rye and millet as common choices. Penn State’s mushroom spawn lab uses rye.
The grain affects speed. A 2023 study in Mushroom Research by Ufitinema and colleagues compared spawn for oyster mushrooms made from different substrates:
| Spawn substrate | Average days to full colonisation |
|---|---|
| Popcorn maize | About 9.4 |
| Rice | About 10.3 |
| Wheat | About 13.2 |
| Sawdust | About 13.4 |
| Vermiculite | About 15.2 |
The authors recommended maize and rice for oyster spawn. In practice, most home growers pick whatever clean, whole grain they can buy locally. Make sure it is intact and not cracked or dusty.
The aim is grain that is moist inside but dry on the surface. The Mushroom Guide calls this “field capacity, but no more”. Too wet and the grain bursts in the pressure cooker. Too dry and the mycelium struggles to colonise it.
A 2025 study on spawn for straw mushrooms (Volvariella volvacea) by Sharifuddin and colleagues found that boiling corn grain for 3 to 5 minutes gave better mycelial growth than a 6-hour room-temperature soak. The best preparation method can depend on the grain and the species.
Many recipes add small amounts of minerals. In Ufitinema and colleagues’ study, gypsum helped keep the grains from clumping and calcium carbonate helped maintain pH.
| Source | Calcium carbonate | Gypsum |
|---|---|---|
| Ufitinema et al. 2023 | 0.3% of dry grain weight | 1.2% of dry grain weight |
| NIOS lesson | 0.5% | 2% (it notes calcium carbonate alone is now often enough) |
| Penn State spawn lab (1,000 ml flask) | 2 teaspoons of lime | 1 teaspoon |
| Sharifuddin et al. 2025 (corn, straw mushroom) | 3% gave the best mycelial density | Not used |
Mix the minerals evenly into the drained grain. The Penn State lab notes that its Pleurotus (oyster) spawn uses lime instead of gypsum, so recipes vary by species.
Grain must be fully sterilised. Published procedures vary with the size of the load:
| Source | Load | Sterilisation |
|---|---|---|
| Penn State spawn lab | 250 ml flask of rye | 35 minutes at 121°C |
| Penn State spawn lab | 1,000 ml flask of rye | 45 minutes at 121°C |
| The Mushroom Guide | A couple of jars | 60 to 90 minutes at 15 psi |
| The Mushroom Guide | Several small bags | At least 2 hours |
| Ufitinema et al. 2023 | Bottles | 2 hours at 121°C, two days in a row |
| NIOS | Bottles or bags (autoclave) | 2.5 hours at 22 psi |
Our step-by-step guide to sterilising in a pressure cooker explains how to run the cycle safely. After sterilising, Ufitinema and colleagues shook their bottles while still hot to stop the grain clumping, then cooled them for at least 3.5 hours. Never inoculate warm grain.
Inoculate in a clean space. NIOS says to work in a laminar flow hood or under fully sterile conditions. Our comparison of a still air box and a flow hood explains the options for home growers. Wipe the outside of each jar with alcohol before you start.
The Mushroom Guide describes three ways to add the mushroom culture:
NIOS also warns against multiplying spawn grain-to-grain for more than two generations. Our agar and liquid culture guide explains how to keep a clean culture going.
Keep the jars or bags somewhere warm and dark. Ufitinema and colleagues incubated at about 25°C, and NIOS uses 25°C for its spawn too. Penn State’s lab grows its cultures at room temperature, 22 to 24°C.
NIOS advises shaking the bottles or bags about 10 days after inoculation, and again once or twice during incubation, to spread the mycelium evenly. Ufitinema and colleagues shook frequently to stop the grain clumping. Each shake breaks up the colonised grain and spreads the mycelium to new grains.
NIOS lists green, black or other unwanted growth and a foul smell as signs of contamination. Remove contaminated containers as soon as you see them. NIOS advises autoclaving contaminated containers before emptying them, so you don’t release spores. Our contamination guide helps you identify what you’re seeing.
Use your spawn as soon as it is fully colonised. If you must store it, NIOS says fully colonised spawn of button and oyster mushrooms can be kept at 4 to 6°C for 1 to 2 months, but must not be frozen. It also warns that spawn of some warmth-loving species, such as Volvariella, Ganoderma (reishi) and Calocybe (milky mushroom), should not be stored below 15°C. Label every jar with the species and date, as NIOS recommends.
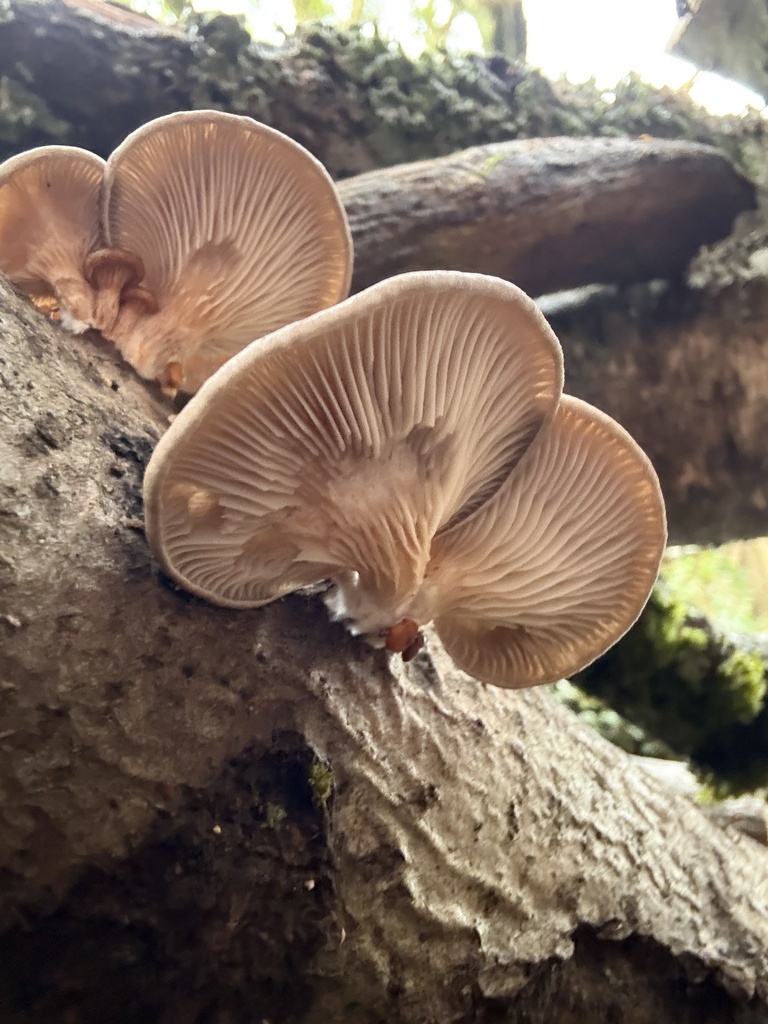
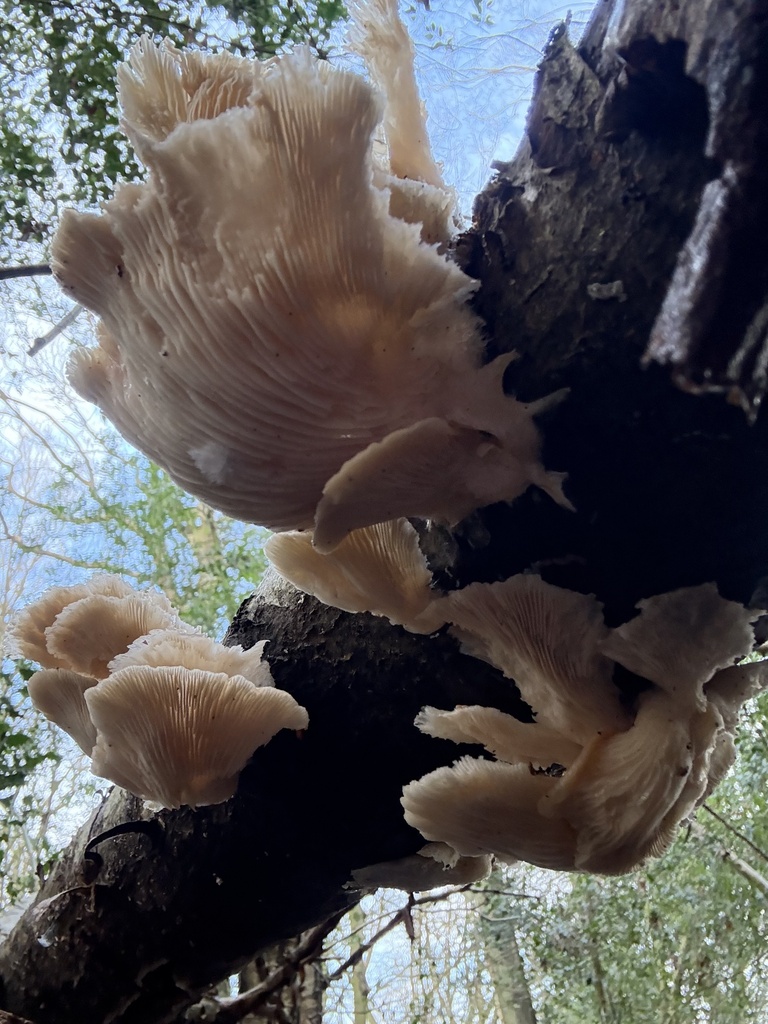
Featured image: oyster mushrooms by Charles Joynson via iNaturalist (CC0 1.0). Inline photo by Charles Joynson via iNaturalist (CC0 1.0).