Physical Address
304 North Cardinal St.
Dorchester Center, MA 02124
Physical Address
304 North Cardinal St.
Dorchester Center, MA 02124

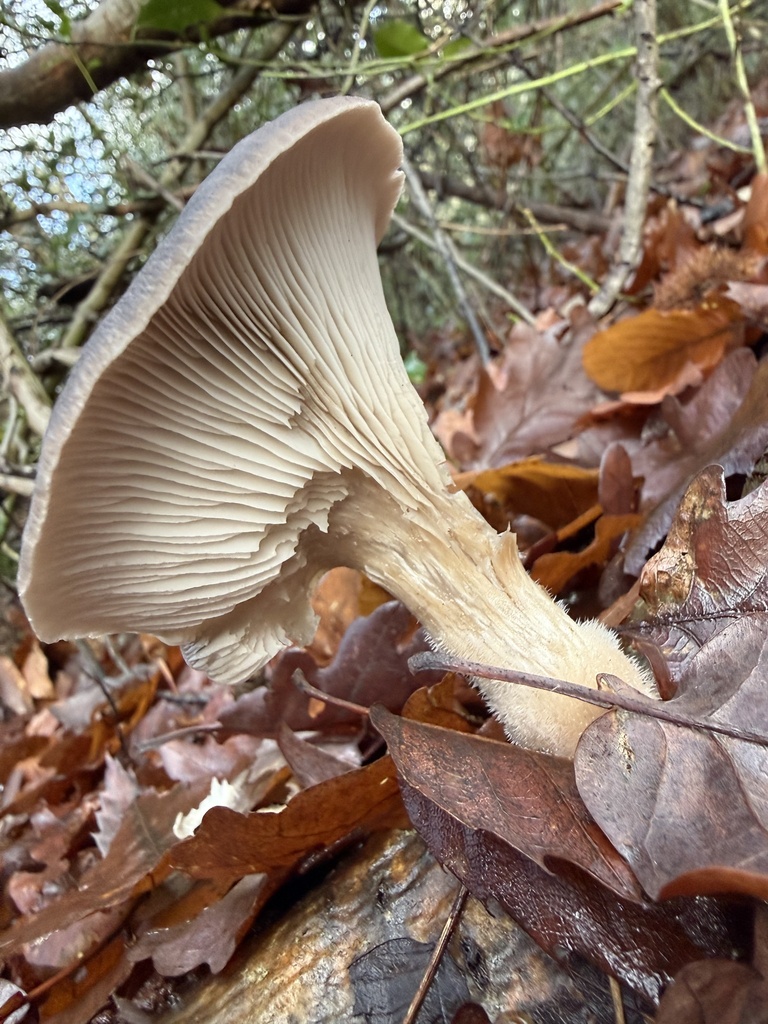
A spore print needs only a mushroom cap, paper and a bowl. Learn the method, how long to wait, how to print boletes and brackets, how to fix a print, and what spore colour can and can't tell you.
A spore print is one of the simplest and most useful things you can make with a mushroom. You need a cap, a piece of paper and a bowl. A few hours later, you have a pattern made of thousands of spores, in a colour that can help narrow down what the mushroom is.
Spore prints are used by foragers checking an identification, by students learning how fungi reproduce, by artists, and by growers who are curious about the mushrooms they raise. This tutorial covers the basic method, how to handle mushrooms that don’t have gills, how to fix and keep a print, and what a spore print can and can’t tell you.
Mushrooms are the fruiting bodies of fungi, and their job is to release spores. In a gilled mushroom, the spores form on the gills under the cap. The Wytham Woods guide from the University of Oxford explains that as the cap opens and matures, the spores fall from the gills. A single spore is far too small to see. As the North American Mycological Association (NAMA) puts it, “Mushroom spores are very small and can only be seen individually with a microscope.” A spore print simply collects enough of them in one place to make them visible.
Because the spores drop more or less straight down, the British Mycological Society (BMS) notes that the print tends to mirror the pattern of the gills. That’s why a good print looks like a ghost image of the underside of the cap.
If you don’t know what colour to expect, the BMS suggests using a card that is half black and half white. NAMA and First Nature also mention kitchen foil and glass, which work well because both light and dark spores show up on them.
| Source | Suggested time |
|---|---|
| First Nature | Two or three hours |
| British Mycological Society | At least 2 hours for fresh-picked mushrooms. Overnight or longer for shop-bought ones |
| NAMA | 2 to 24 hours, depending on humidity and how fresh the mushroom is |
| UF/IFAS Extension and Science Learning Hub | About a day, or overnight |
In practice, start checking after a couple of hours. If nothing shows, put the cover back and leave it overnight.
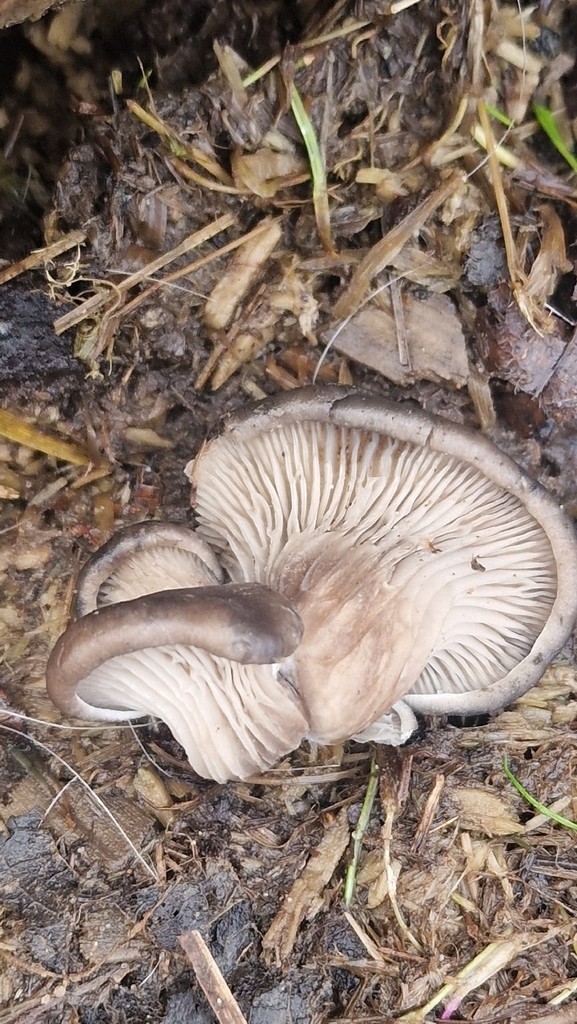
Not every fungus has gills, but many can still be printed. NAMA and First Nature describe how to handle the main groups:
| Type of fungus | How to print it | What the print looks like |
|---|---|---|
| Boletes and other pored mushrooms | The same as gilled mushrooms, pores facing down | Dots or rings that reflect the size and shape of the pores |
| Tooth fungi (spines under the cap) | The same as gilled mushrooms | A dotted pattern |
| Hard bracket fungi (polypores) | NAMA suggests wrapping them overnight in wet paper towels or newspaper first, then printing with the spore surface facing down | Varies by species |
| Cup fungi, such as Peziza | Fertile side down | A plain disc with no gill pattern |
| Flask fungi, such as Daldinia | Spores are released around the fruit body, so make the print beside it rather than under it | A deposit next to the specimen |
For morels, corals, puffballs and bird’s nest fungi, NAMA says to experiment or check a mushroom book for where the spores are produced.
A spore print is fragile powder and smudges easily. Both the BMS and NAMA suggest fixing it with hair spray or artist’s fixative. First Nature prefers artist’s clear varnish and says hair lacquer is a weaker option. Spray from a distance. NAMA warns: “Hold the spray at least 12 to 15 inches above the print or you may blast the spores right off the paper!”
If you’re collecting in the field, NAMA suggests wrapping the cap, or the whole mushroom, in foil to carry it home, and then making the print there.
Spore colour is the main reason foragers make prints. NAMA notes that spore colour “can range from white to many other shades, including black”. It groups prints loosely into white, black, and brown or cinnamon. First Nature gives examples at family level:
A practical tip from UF/IFAS Extension: if no print appears on white paper, the spores may be white, so try a darker colour.
Spore colour is a strong clue, but only one clue. Wild Food UK’s guide to velvet shank, for example, notes that it has an off-white spore print, while look-alikes such as the common rustgill have rust-coloured spores. That kind of difference can help separate species. But many mushrooms share the same spore colour, including some deadly ones. The death cap, for example, belongs to a family with whitish spores, just like many edible mushrooms. Our death cap guide explains why that matters.
So treat a spore print as one part of the evidence, alongside the cap, gills, stem, smell, habitat and season. Never decide that a wild mushroom is safe to eat based on a spore print, a photo or a description. If you plan to eat something you’ve found, have it checked in person by an experienced local identifier. Our article on wild versus cultivated mushrooms covers the wider safety picture.
If you’re new to this, practise on mushrooms from the supermarket. The BMS suggests leaving shop-bought mushrooms overnight or longer. Mature brown mushrooms with open caps are a good choice, and our guide to growing button mushrooms explains how that species develops. The Wytham Woods guide also suggests trying oyster mushrooms. Our oyster mushroom guide has more on that species.
To see individual spores, the BMS suggests letting them drop onto a glass microscope slide. NAMA describes scraping a little of the print onto a slide with a needle or scalpel, adding a drop of water and covering it with a cover slip. You’ll need a microscope to see much detail.
NAMA describes artistic prints made on coloured card, with the cover left off so that air currents shape the pattern. It suggests using them for greeting cards. It also describes an old trick with ink caps: leave them overnight, then mix the black spore deposit with a few drops of water to make ink.
Some growers start cultures from spores. This needs clean technique, because spores and contaminants land on the same surfaces. If you’re interested, our guide to agar and liquid culture is the next step.
Featured image: oyster mushroom by Charles Joynson via iNaturalist (CC0 1.0). Inline photo by Rosie via iNaturalist (CC0 1.0).

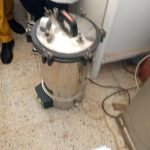
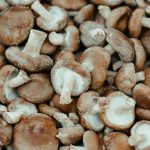
[…] Making spore prints, as described in our spore print tutorial […]
[…] spore slide is the easiest place to start. Spores from a spore print are mature, which matters for accurate measurement. Kuo’s […]
[…] of those spores, seen in a spore print, is a key identification feature. Our step-by-step guide to making a spore print shows how to do […]