Physical Address
304 North Cardinal St.
Dorchester Center, MA 02124
Physical Address
304 North Cardinal St.
Dorchester Center, MA 02124

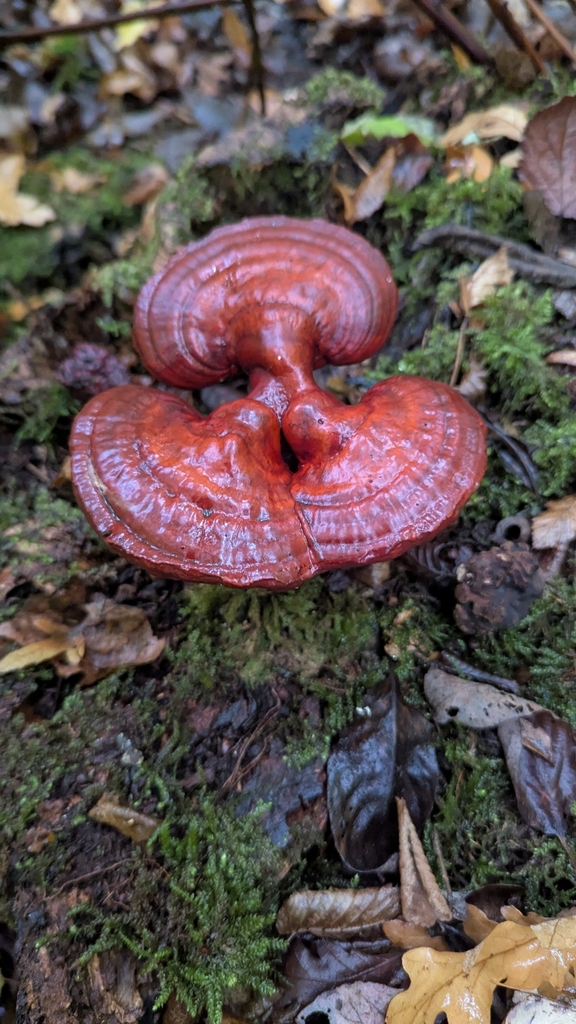
Reishi can be grown in indoor sawdust bags, as buried blocks or on hardwood logs. This guide compares all three, explains how fresh air decides between shelf and antler shapes, and covers harvest signs, drying and realistic yields.
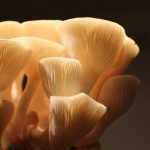
Reishi (Ganoderma lucidum, also called lingzhi) is unusual among home-grown mushrooms. You don’t grow it for the frying pan: the fruit body is hard, woody and corky. People grow it for its looks and to dry for tea or tinctures. Reishi also gives the grower a choice that few other species offer. Depending on how much fresh air it gets, the same culture can produce the familiar shiny, kidney-shaped “shelf” or a cluster of branching, finger-like “antlers”.
This guide compares the three main ways to grow reishi: indoor sawdust bags, buried fruiting blocks, and inoculated logs. It also explains how to steer the shape of the fruit body and when to harvest. The figures come from an Oregon State University Extension guide, India’s Directorate of Mushroom Research, a USDA-funded farm field day, and peer-reviewed cultivation studies. Where the sources disagree, the differences are shown rather than smoothed over.
| Indoor sawdust bags | Buried fruiting blocks | Logs | |
|---|---|---|---|
| Where | Grow tent, room or greenhouse | Shaded garden bed or greenhouse soil | Greenhouse, forest floor or shady yard |
| Substrate | Hardwood sawdust plus bran | Pre-colonised sawdust blocks | Fresh oak, maple or other suitable hardwood |
| Time to colonise | About 3 to 4 weeks | Bought or made already colonised | 9 to 18 months |
| First harvest | Roughly 1 to 4 months after inoculation, depending on the schedule | About 2.5 to 3 months after planting | After the long spawn run, then for years |
| Control over shape | High | Moderate | Low |
If you want to know more about reishi’s history and the research on its uses before you start, read our reishi explainer. This article is only about growing it.
Most commercially grown reishi comes from sterilised sawdust bags. The European Forest Institute notes that controlled indoor growing gives higher yields than forest cultivation.
The published recipes are similar to one another. Each is mostly hardwood sawdust with a smaller share of bran and a little gypsum or chalk.
| Source | Recipe | Sterilisation |
|---|---|---|
| ICAR Directorate of Mushroom Research (India) | Broadleaf sawdust with 20% wheat bran, about 65% moisture, gypsum and chalk to adjust pH to 5.5 | 22 psi for 2 hours |
| Fang et al. 2026, Journal of Fungi | 84% sawdust, 15% wheat bran, 1% gypsum, 60% moisture | 121°C for 2 hours |
| SARE farm field day handout | 2 lb hardwood pellets, 4 oz bran, 2 tbsp gypsum, 1,400 ml water | 15 psi for 2 hours |
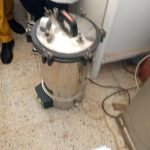
The SARE recipe is the easiest to copy at home, because hardwood fuel pellets are cheap and break down into sawdust when soaked. Make sure they are plain hardwood, with no additives. Supplemented sawdust always needs full sterilisation in a pressure cooker or autoclave. Our guide to sterilisation versus pasteurisation explains why.
Once the bags have cooled, inoculate them with grain or sawdust spawn. The Directorate of Mushroom Research uses spawn at 3% of the substrate’s dry weight. It runs the bags at 28°C in darkness until they are “white all over”, which takes about 25 days. In the Journal of Fungi study, the bags were fully colonised after 25 days at 25°C in darkness. The SARE handout incubates at 70°F (21°C) and lists a shorter spawn run of 10 to 14 days. So plan for roughly two to four weeks, depending on temperature and spawn rate.
The Directorate of Mushroom Research gives the most detailed fruiting schedule, changing the conditions as the mushroom develops:
The SARE handout uses a warmer, wetter, simpler schedule: 70 to 80°F (21 to 27°C) throughout, with 95 to 100% RH for spawn run and pinning, and 90 to 95% during fruiting. Its own figures for the length of the fruiting stage are inconsistent: one part says 5 to 8 days, while the growth-parameter table says 60 days. In practice, a reishi cap takes weeks rather than days to mature, so plan for the longer timescale.
Fresh air (strictly speaking, carbon dioxide) is the main lever. Oregon State Extension notes that red reishi can form either finger-like antlers or a shelf, depending on how much oxygen it gets.
| You want | What to do | Why |
|---|---|---|
| A classic flat, shiny cap | Give plenty of fresh air once pins appear, and moderate light | Low CO2 lets the cap expand sideways |
| Branching antlers | Keep the bags in still, stale air, for example in a closed tent, a bag left mostly sealed, or a dim room | High CO2 promotes stem growth and stops caps from opening |
The research supports this. A 2026 Journal of Fungi paper notes that at CO2 levels of about 0.1 to 1% (1,000 to 10,000 ppm), reishi tends to form antler-shaped fruit bodies. It also cites earlier work in which 0.1% CO2 promoted stem growth and held back cap expansion. A 2021 study from Hue University in Vietnam produced typical antler-type fruit bodies on sawdust under “airless” conditions, in both light and darkness. The best treatment produced antlers 33 cm long and 28.02 g of fruit body per bag.
Antlers are not a failure. Some growers and buyers prefer them. Just make the choice on purpose rather than by accident.
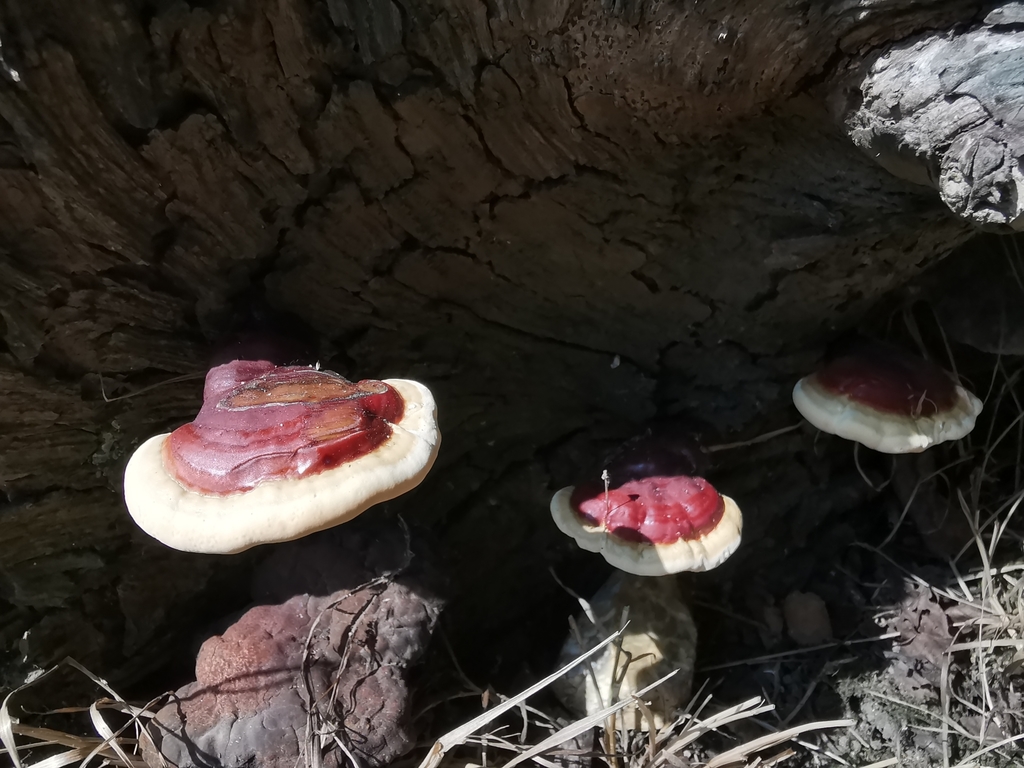
Oregon State University Extension’s reishi guide, written for small woodland owners, describes a middle path. You start with sterilised sawdust-and-bran blocks, about 5 pounds each, inoculated with grain spawn. Once colonised, the blocks are buried in a bed outdoors or in a greenhouse.
This method suits growers who want reishi outdoors without waiting a year or more for logs to colonise.
Log culture is the slowest route, but each log produces for several years. The Oregon State guide’s method:
The same guide gives a useful rule of thumb: a log fruits for roughly one year per inch of diameter. A 6-inch log could produce for about six years, but thicker logs take longer to colonise. Fruiting typically comes in two flushes a season, from about April to August in Oregon. The European Forest Institute adds that reishi can be grown on fresh stumps and trunks, including birch, spruce, oak and alder, and that moist sites have higher success rates.
If you’ve grown shiitake on logs, the drilling and waxing will feel familiar. Our article on growing maitake on buried logs covers another hardwood species that is grown partly buried.
Reishi tells you when it has finished growing. The main sign is the cap margin:
Oregon State gives about three months from pinning to maturity on blocks and logs. Indoor bags under controlled conditions can be quicker for each flush.
Reishi is almost always used dried. The Directorate of Mushroom Research recommends drying below 50°C in a cabinet dryer, and describes freeze drying as the best option. It reports that 1 kg of fresh reishi gives about 450 g dried. That is a much higher dry yield than soft mushrooms give, because reishi contains far less water. Oregon State describes the mushrooms as corky and tough, so slicing large fruit bodies before drying makes them easier to handle.
| Source | Reported yield |
|---|---|
| Directorate of Mushroom Research | 25% biological efficiency, or 250 g fresh reishi per 1 kg dry substrate, across 2 to 3 flushes |
| Hue University antler study | 28.02 g per bag in the best antler treatment |
| Oregon State log guide | No weight given; logs fruit for roughly one year per inch of diameter |
These are research or professional figures. Home results vary widely with strain, substrate and how well you manage fresh air.
A final note on use: our site covers the research on reishi in separate articles. Growing your own does not change the evidence, and anyone who takes medication or has a health condition should talk to a clinician before using reishi products.
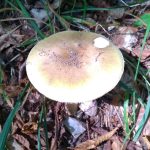
Featured image: reishi by Piermario Maculan via iNaturalist (CC0 1.0). Inline photo by Matthew Wilkinson via iNaturalist (CC0 1.0).