Physical Address
304 North Cardinal St.
Dorchester Center, MA 02124
Physical Address
304 North Cardinal St.
Dorchester Center, MA 02124

A step-by-step guide to drying mushrooms in a dehydrator or oven, with temperatures, dryness tests, storage tips and safety advice from university food preservation guides.
Drying is one of the easiest ways to keep mushrooms. It turns a glut of shiitake from your logs or a basket of chanterelles into a jar of pantry flavour. It’s also easy to get wrong: mushrooms that are only partly dry can go mouldy in the jar, and drying won’t make an unsafe mushroom safe.
This guide walks through drying mushrooms at home in a dehydrator or an oven, step by step. It’s based on food preservation guidance from Oregon State University, North Dakota State University, the University of Arizona and the University of Illinois, plus a scientific review on mushrooms and vitamin D.
Two rules come before anything else:
If you forage, have every mushroom confirmed by an experienced local identifier before you dry it. Our guide to wild vs cultivated mushrooms explains why this matters.
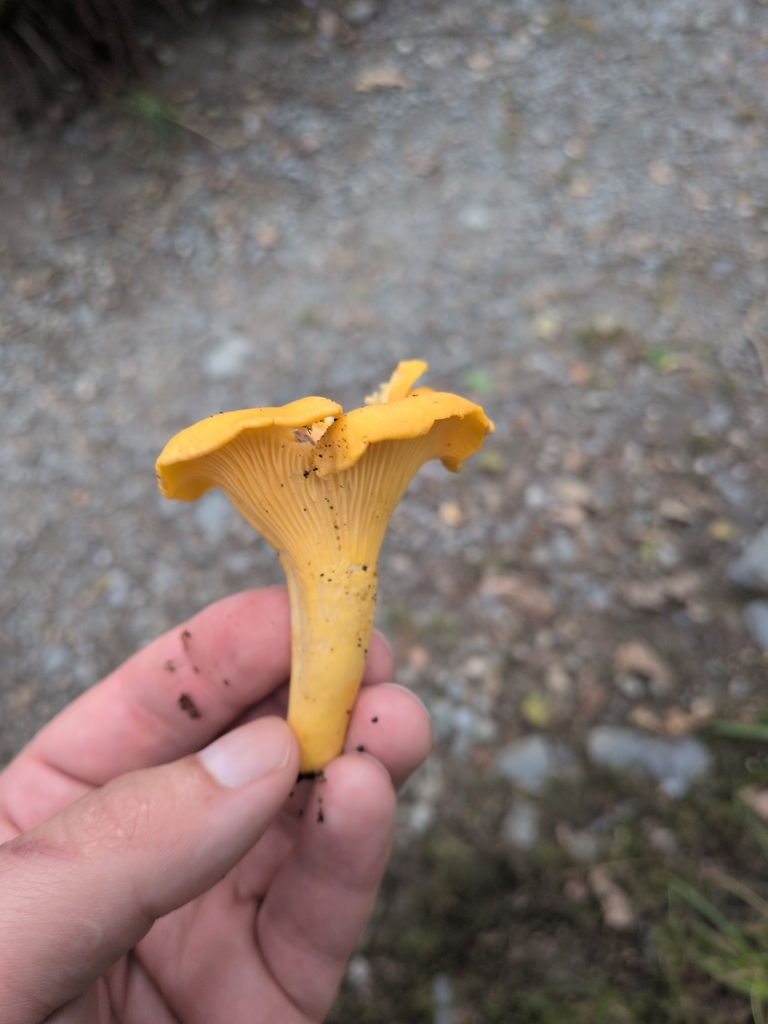
OSU’s Preserving Mushrooms guide suggests choosing mushrooms with closed caps and visible gills, and names button mushrooms, chanterelles and morels as good varieties for drying. Pick firm, fresh mushrooms. NDSU advises sorting out and discarding any produce with decay, bruises or mould before you start.
| Method | Temperature | What the guides say |
|---|---|---|
| Food dehydrator | 120°F (49°C) in OSU’s mushroom guide; 125 to 140°F (52 to 60°C) in the University of Arizona’s vegetable guide | Arizona suggests 140°F if your dehydrator has no dial. Follow the manufacturer’s instructions |
| Oven | 140 to 145°F (60 to 63°C), checked with a thermometer | NDSU says oven drying can take twice as long as a dehydrator, and isn’t safe if young children are around |
| Sun or air drying | Not controlled | The University of Illinois says sun-dried foods also need pasteurising to destroy insects or eggs that may be present |
A dehydrator is the easiest and most consistent option. Spread slices in a single layer, with space between them, so air can move freely.
If you don’t have a dehydrator, NDSU describes how to use an oven:
Many ovens can’t go this low. If yours can’t, a dehydrator is the safer choice. Whichever method you use, keep a note of the temperature, slice thickness and drying time for each batch. That way you can repeat what works and adjust what doesn’t, since every dehydrator and oven behaves a little differently.
NDSU gives a drying time of 8 to 10 hours for mushrooms, but stresses that drying isn’t a precise process. Times depend on the equipment, how wet the mushrooms are, and the humidity of the air.
How do you know they’re done? The guides describe it slightly differently:
Always test a few pieces after they’ve cooled, as NDSU advises. If you’re unsure, give them longer. The University of Illinois notes that dried vegetables are brittle or crisp at a moisture level of about 10%.
The University of Arizona says to package dried vegetables only after they’ve cooled completely, because warm food releases moisture as it cools.
For dried fruit, the University of Illinois recommends a step called conditioning: pack the cooled food loosely in a closed jar, leave it at room temperature for 7 to 10 days, and check it daily for condensation. If moisture appears, it goes back in the dryer. The guidance is written for fruit, but a few days of daily checks is a sensible precaution for home-dried mushrooms too, especially thick pieces.
| Storage tip | Source |
|---|---|
| Use clean, dry glass jars, ideally dark glass, or moisture- and vapour-proof freezer containers or bags | NDSU |
| Store in a cool, dry, dark place. About 60°F (16°C) is best, with 60 to 80°F (16 to 27°C) acceptable | University of Arizona |
| Label each container with the contents and the date | University of Arizona |
| Expect a shelf life of about 6 to 12 months for dried vegetables | NDSU (Arizona gives up to six months) |
| Store in the fridge or freezer to keep them longer | University of Arizona |
| Throw away anything that develops mould, off-odours or off-flavours | NDSU and University of Arizona |
Our guide to fresh vs dried mushrooms covers how to tell when dried mushrooms have spoiled.
OSU suggests soaking dried mushrooms in boiling water “for a few minutes until softened”, then lifting them out with a slotted spoon. The soaking liquid is full of flavour. Strain it before adding it to a sauce or soup, and treat it as a perishable food.
Mushrooms can make vitamin D2 when exposed to ultraviolet light, including sunlight. A 2018 review by Cardwell and colleagues in the journal Nutrients pulls together the research:
If you’d like to try it, one option is to give fresh slices some sun before you dry them in your dehydrator or oven. The amount you get at home will vary a lot, so don’t rely on it as your main source of vitamin D.
The University of Arizona sums up the main enemies of dried food as “moisture, heat, air and light”. Most problems come back to one of them.
| Problem | Likely cause | What to do |
|---|---|---|
| Crusty outside, soft inside | Case hardening from too much heat, as NDSU describes | Dry at a lower temperature, and check the oven with a thermometer |
| Drying takes much longer than expected | Thick slices, wet mushrooms or humid air, which NDSU lists as factors in drying time | Slice more evenly, avoid rinsing for long, and give them more time |
| Condensation inside the jar | Mushrooms packed warm or not fully dry | Return them to the dryer, then cool fully before packing |
| Mould or off smells in storage | Moisture getting in, or incomplete drying | Throw the batch away. Don’t try to rescue mouldy mushrooms |
| Insects in sun-dried mushrooms | Pests getting in while drying outdoors | Use a dehydrator or oven. Illinois notes that sun-dried foods need pasteurising |
Drying is food preparation, so normal kitchen hygiene applies. The University of Arizona advises washing your hands with soap and water for 20 seconds before and after handling food, and cleaning and air-drying your dehydrator and utensils before and after each use. Use a clean, dry jar for every batch.
Freezing is the other main option. OSU says most varieties freeze well if they’re heat-treated first, and calls sautéing until almost done the preferred method for many varieties. Cool, pack, seal, label and freeze them. OSU also says only domestically grown button mushrooms should be canned at home.
Dried chanterelles, morels and shiitake add depth to soups, risotto, stews and sauces. For more on cooking with two of these mushrooms, see our guides to chanterelles and shiitake. If you grow your own, our guide to growing shiitake on logs may give you more than you can eat fresh.
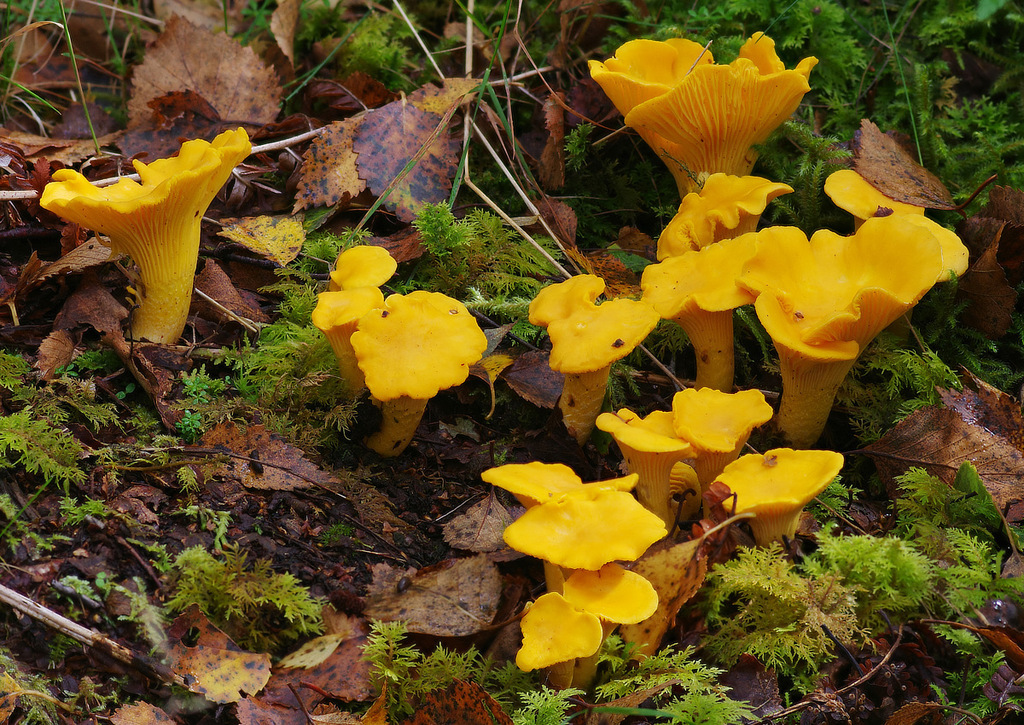
Featured image: chanterelles by Ben Mitchell via iNaturalist (CC0 1.0). Inline photo by Allan Audsley via iNaturalist (CC0 1.0).