Physical Address
304 North Cardinal St.
Dorchester Center, MA 02124
Physical Address
304 North Cardinal St.
Dorchester Center, MA 02124

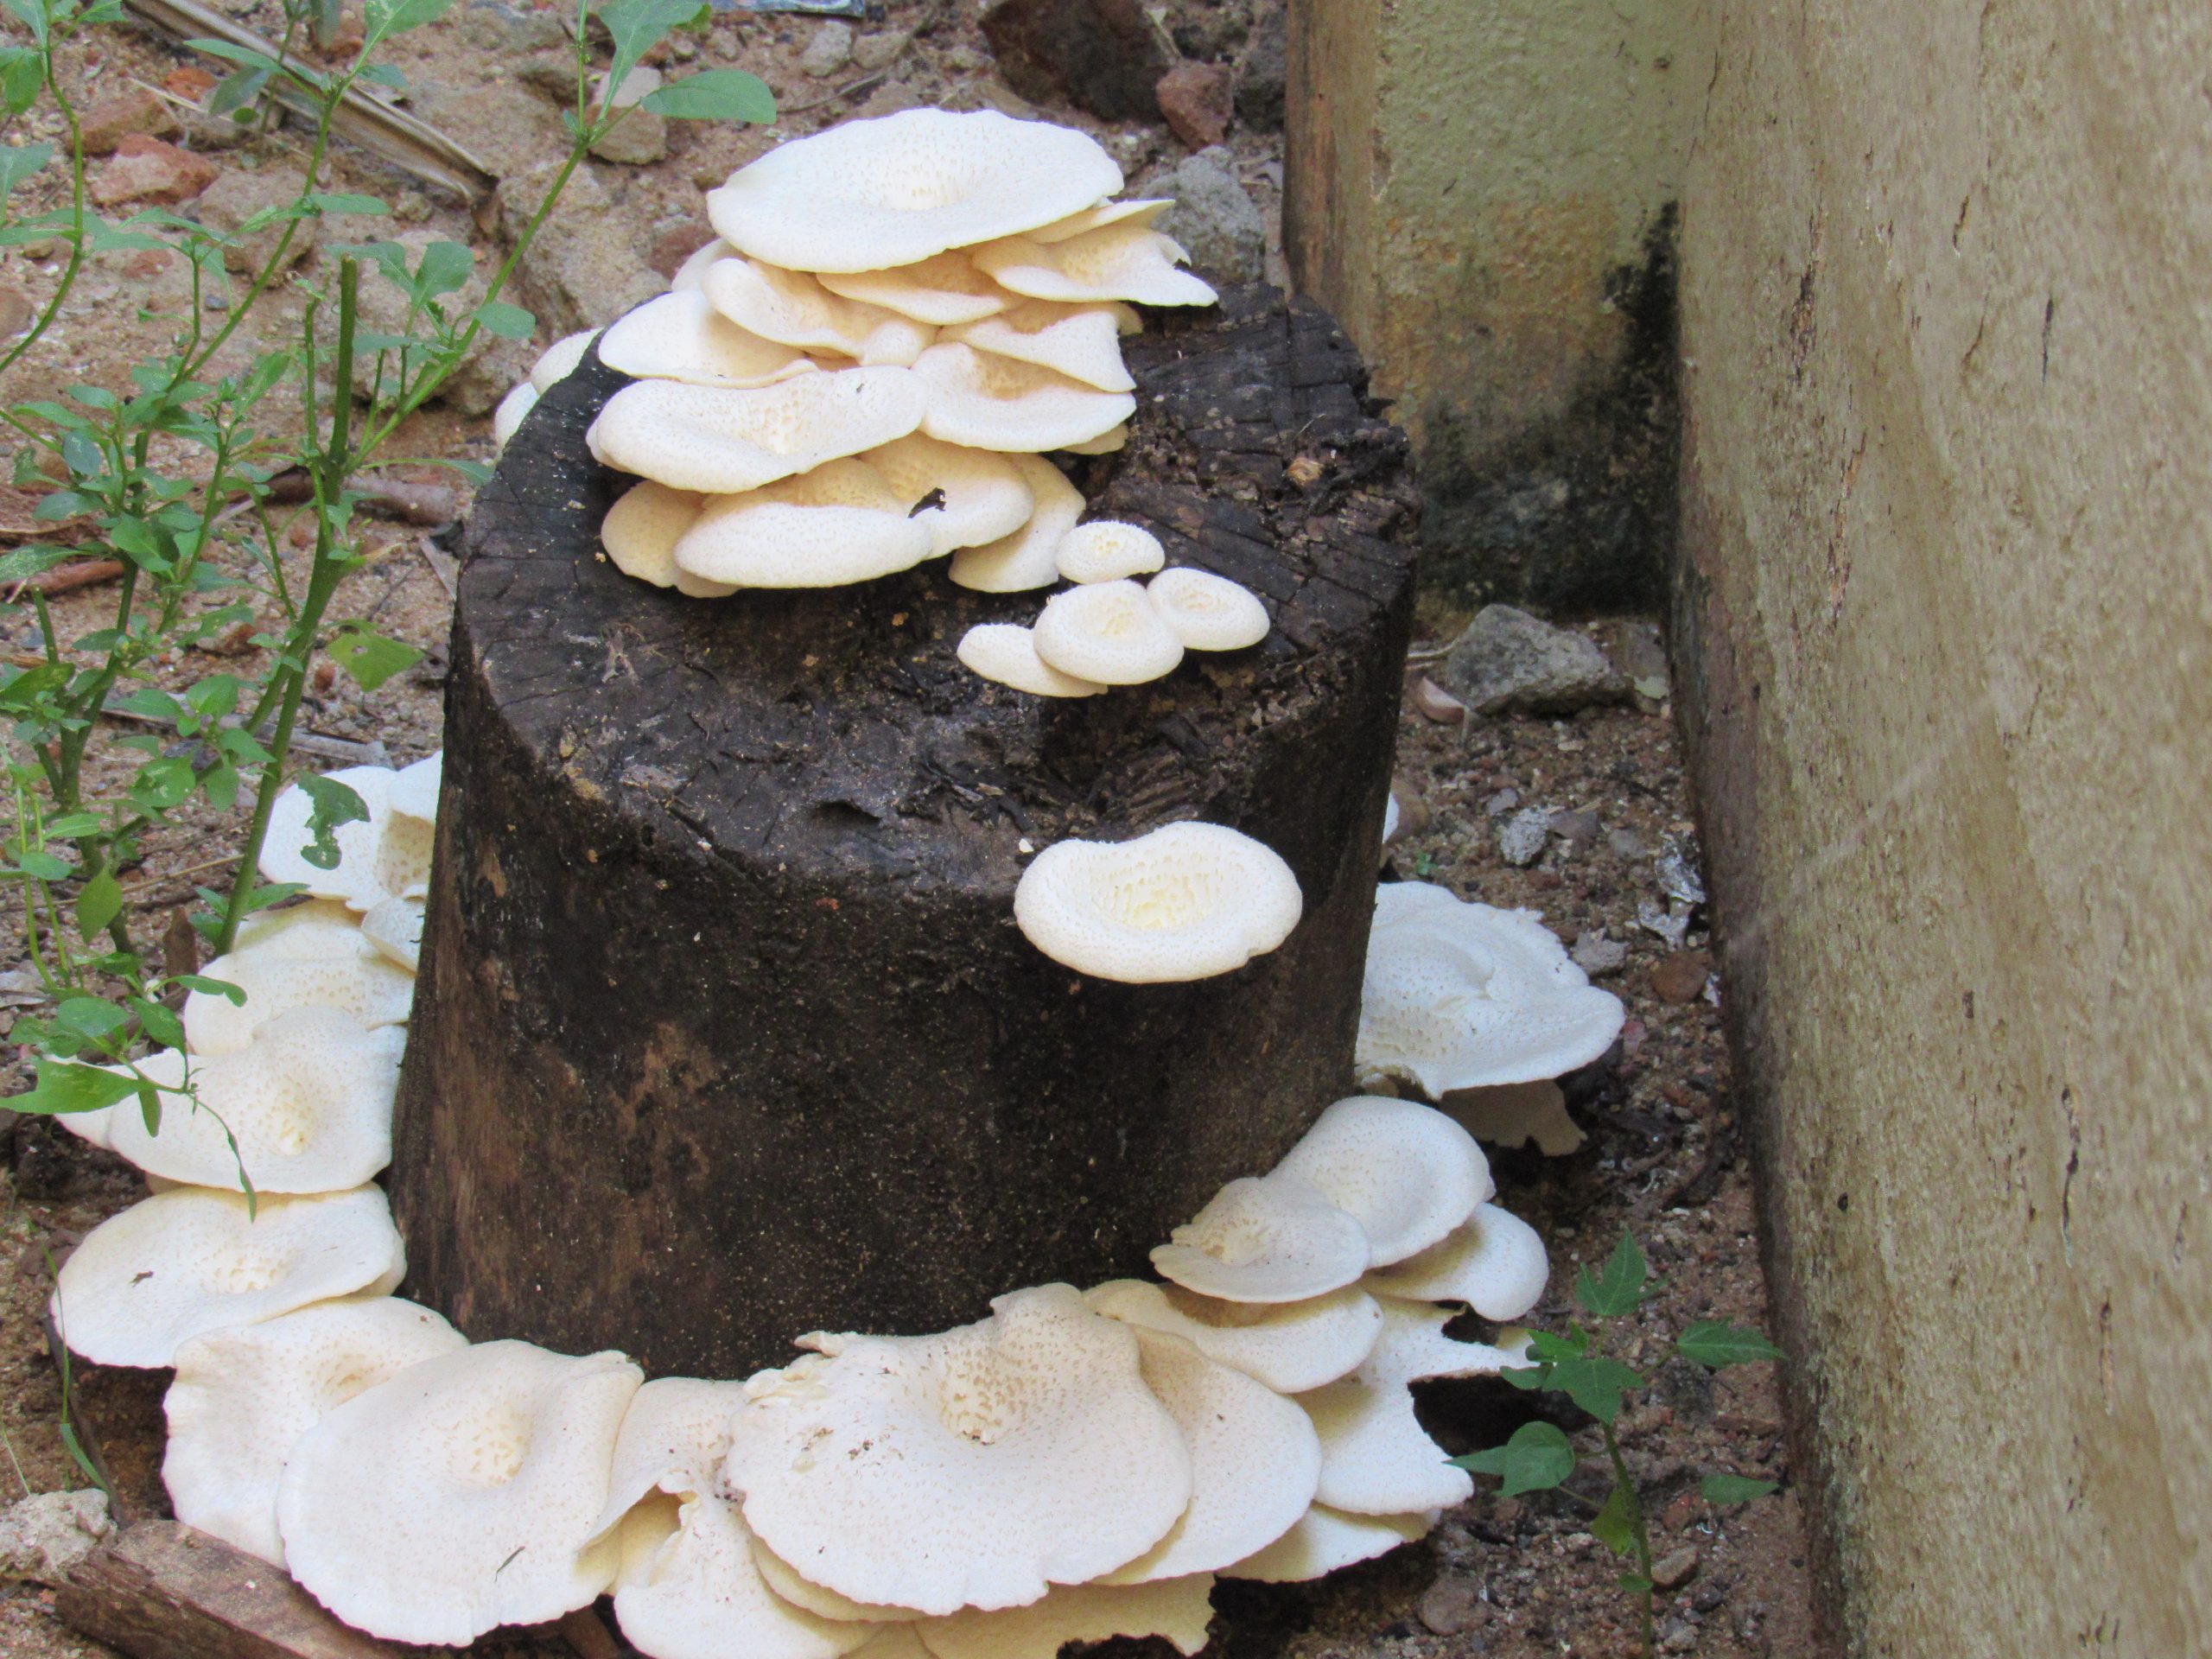
Learn how to grow oyster mushrooms at home using a ready-to-fruit kit or purchased spawn, with practical guidance on substrate, humidity, fresh air, harvesting, and troubleshooting.
Oyster mushrooms are one of the most approachable mushrooms to grow at home because many strains colonize suitable plant-based substrates quickly and can produce clusters without a large garden. The easiest route is a ready-to-fruit kit; the more hands-on route is to buy spawn, prepare a substrate such as straw using a suitable process, and manage colonization before fruiting. Both methods can work, but neither is guaranteed. The species, strain, substrate, moisture, temperature, and fresh-air exchange all influence the result.
A ready-to-fruit block is best if you want to learn how to manage the fruiting stage without preparing substrate. It should come with instructions describing when to open the bag, how to maintain humidity, and what conditions the strain needs. If you want to learn the full process, buy identified spawn and follow a tested recipe designed for the species and substrate. Avoid mixing several online recipes for your first attempt.
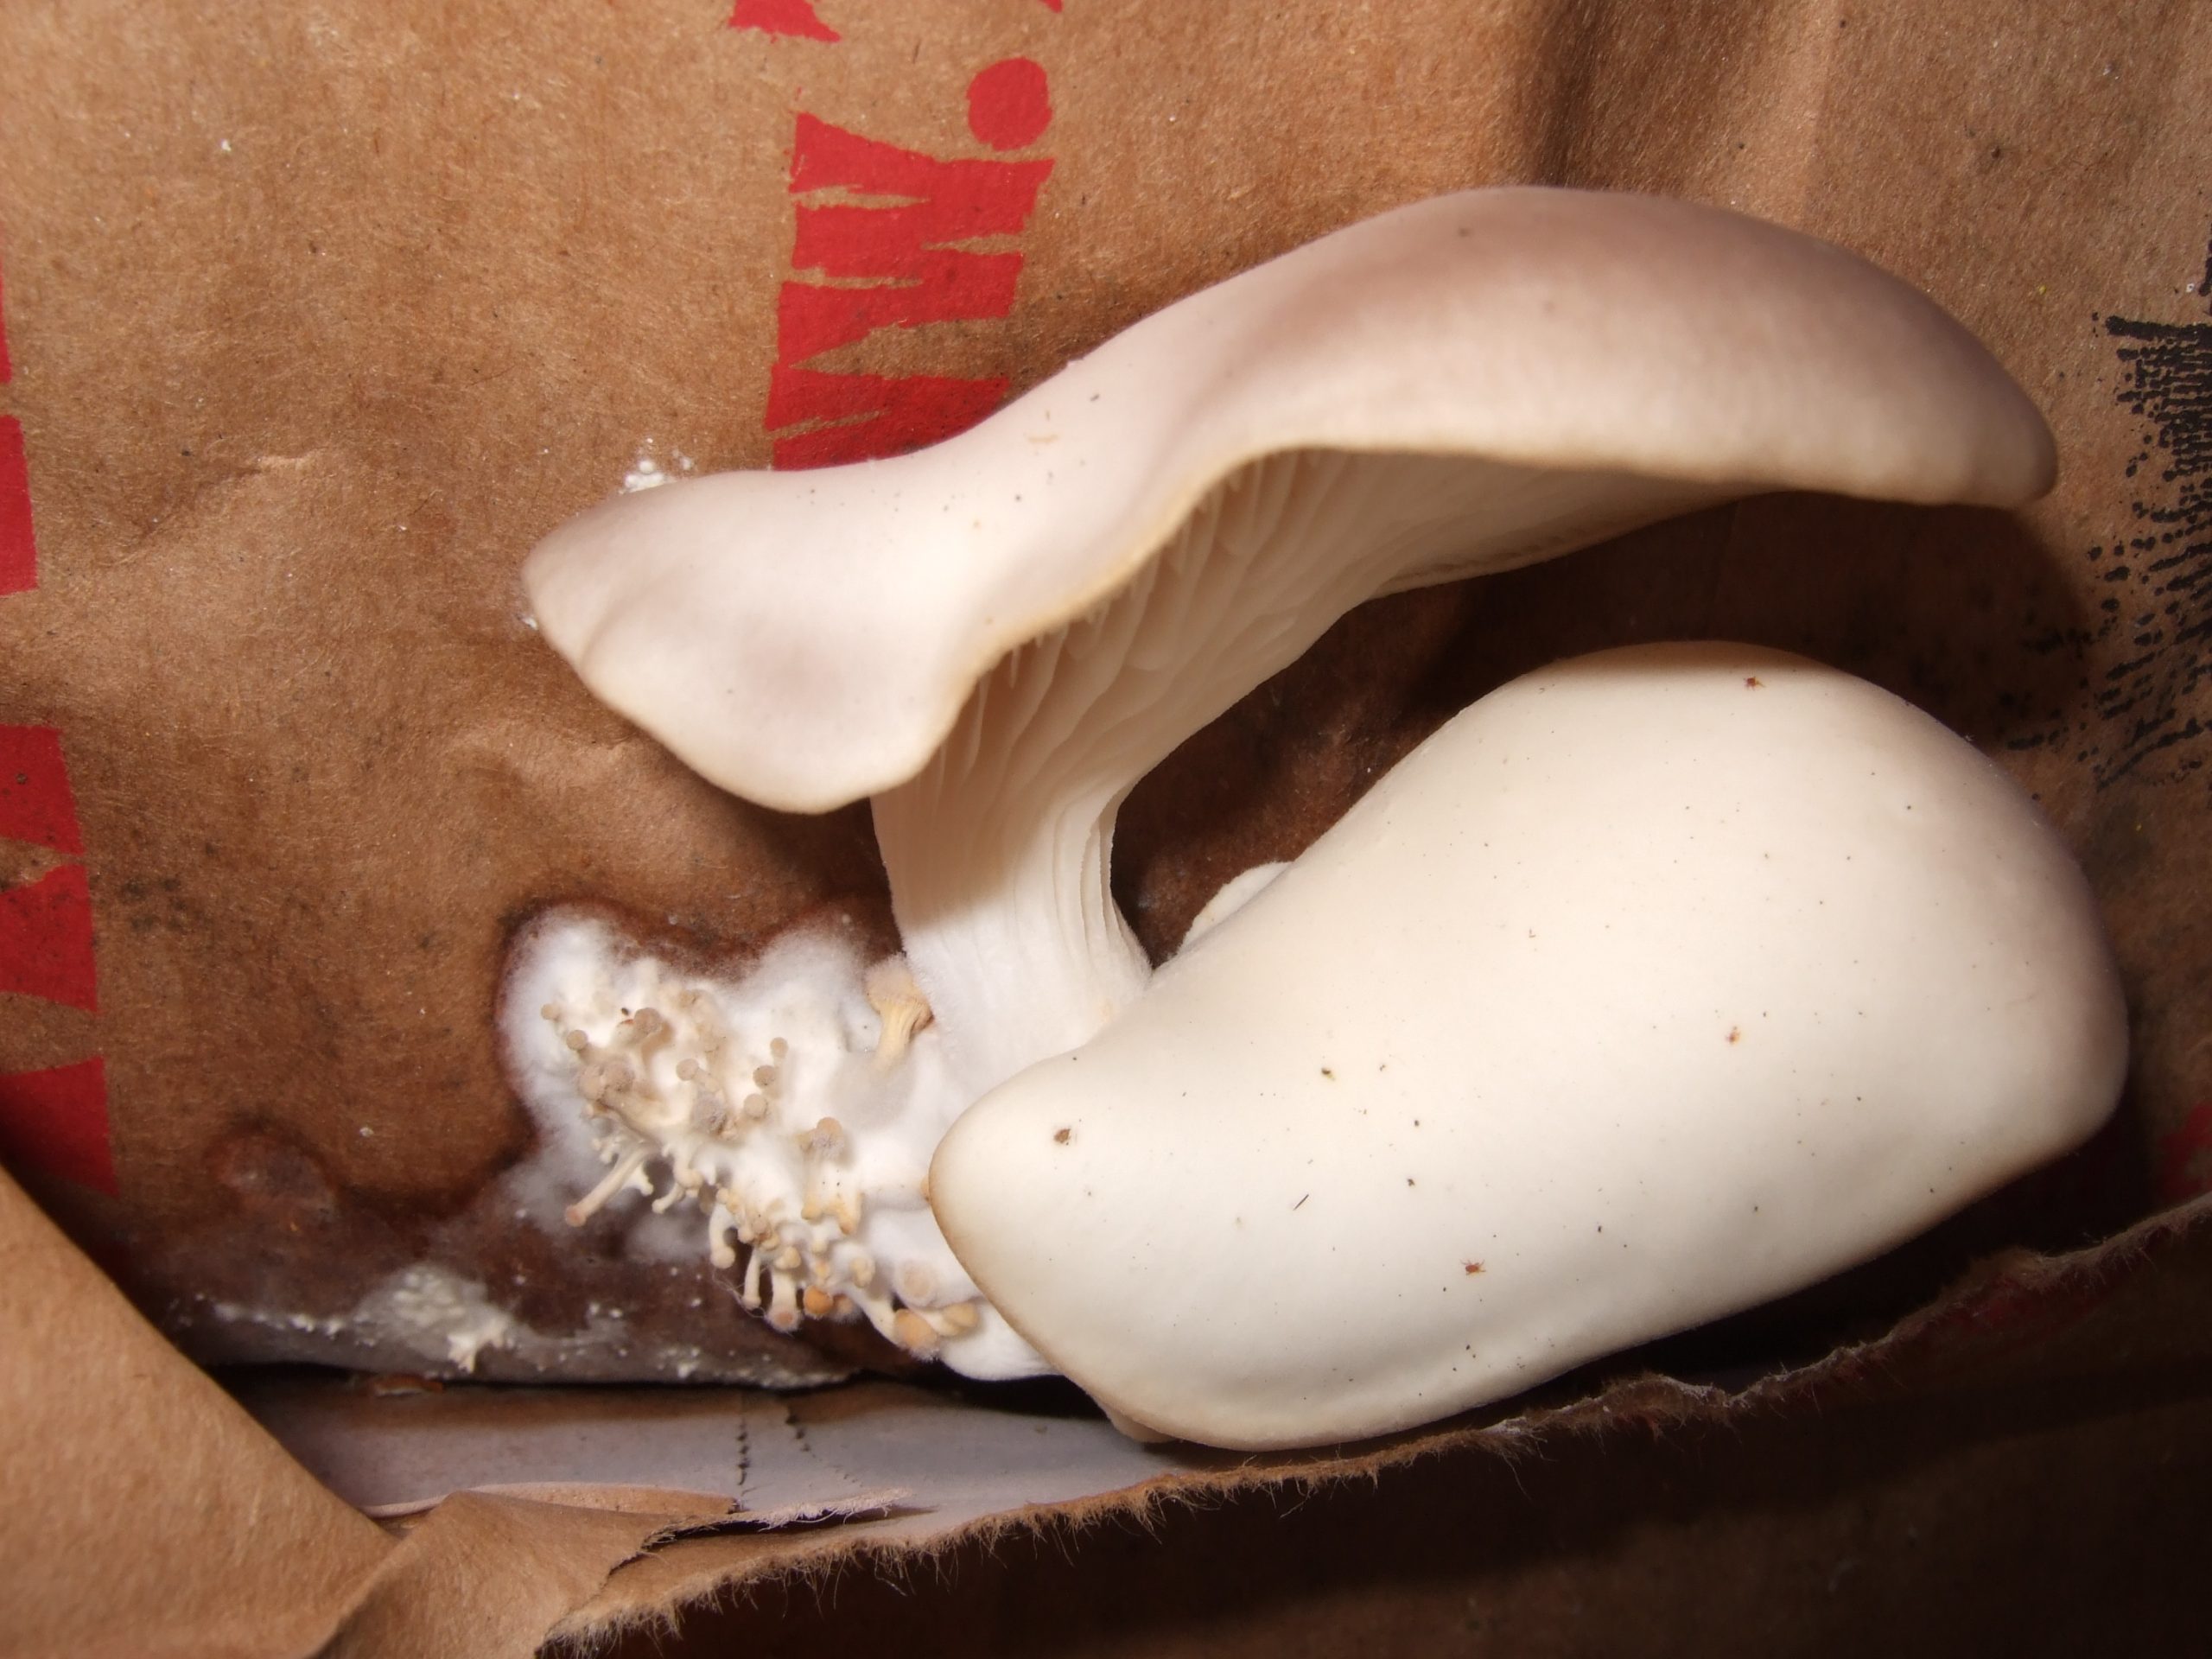
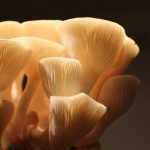
Image source: frankenstoen, Wikimedia Commons, CC BY 2.0.
“Oyster mushroom” covers multiple species and strains, and their temperature preferences can differ substantially. Some are better suited to cooler fruiting conditions; others tolerate warmer rooms. Ask the supplier for the scientific name and recommended ranges for both colonization and fruiting. Measure the room where the block will sit rather than choosing a strain based only on colour or a general claim that oysters are easy.
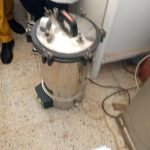
Many oyster strains grow well on clean, untreated straw prepared using an appropriate method. Straw provides a fibrous structure and holds moisture, but it should not be visibly mouldy or contaminated with chemicals. Some growers use other plant-based materials, but a recipe that works for one substrate may not work for another. Substrate preparation is intended to reduce competing organisms; it does not remove the need for clean handling afterward.
Mycelium needs water, but excess water can reduce air spaces and make the substrate harder to colonize. Use the moisture target from your chosen recipe and allow treated substrate to drain and cool as directed before inoculation. If preparing several bags, weigh ingredients and record the process. Guessing the moisture level from appearance alone makes results harder to repeat.
Spawn is substrate already colonized by the desired mushroom culture. Use spawn from a reliable supplier and store it according to the instructions. Prepare your workspace and tools before opening materials, then follow the recipe’s spawn rate and mixing method. During colonization, keep bags within the recommended temperature range and inspect them without unnecessary handling. The timeline depends on strain, spawn quality, substrate, and temperature, so use the supplier’s range rather than a fixed promise.
Many bag systems are ready when the substrate is colonized as described by the method. Ready-to-fruit kits may arrive at this stage. Do not cut additional openings or move the block into fruiting conditions before the recommended stage. If the block shows unusual colours, wet slimy areas, or a strong unpleasant smell, isolate it and ask the supplier for guidance; do not open a suspect bag in a living area.
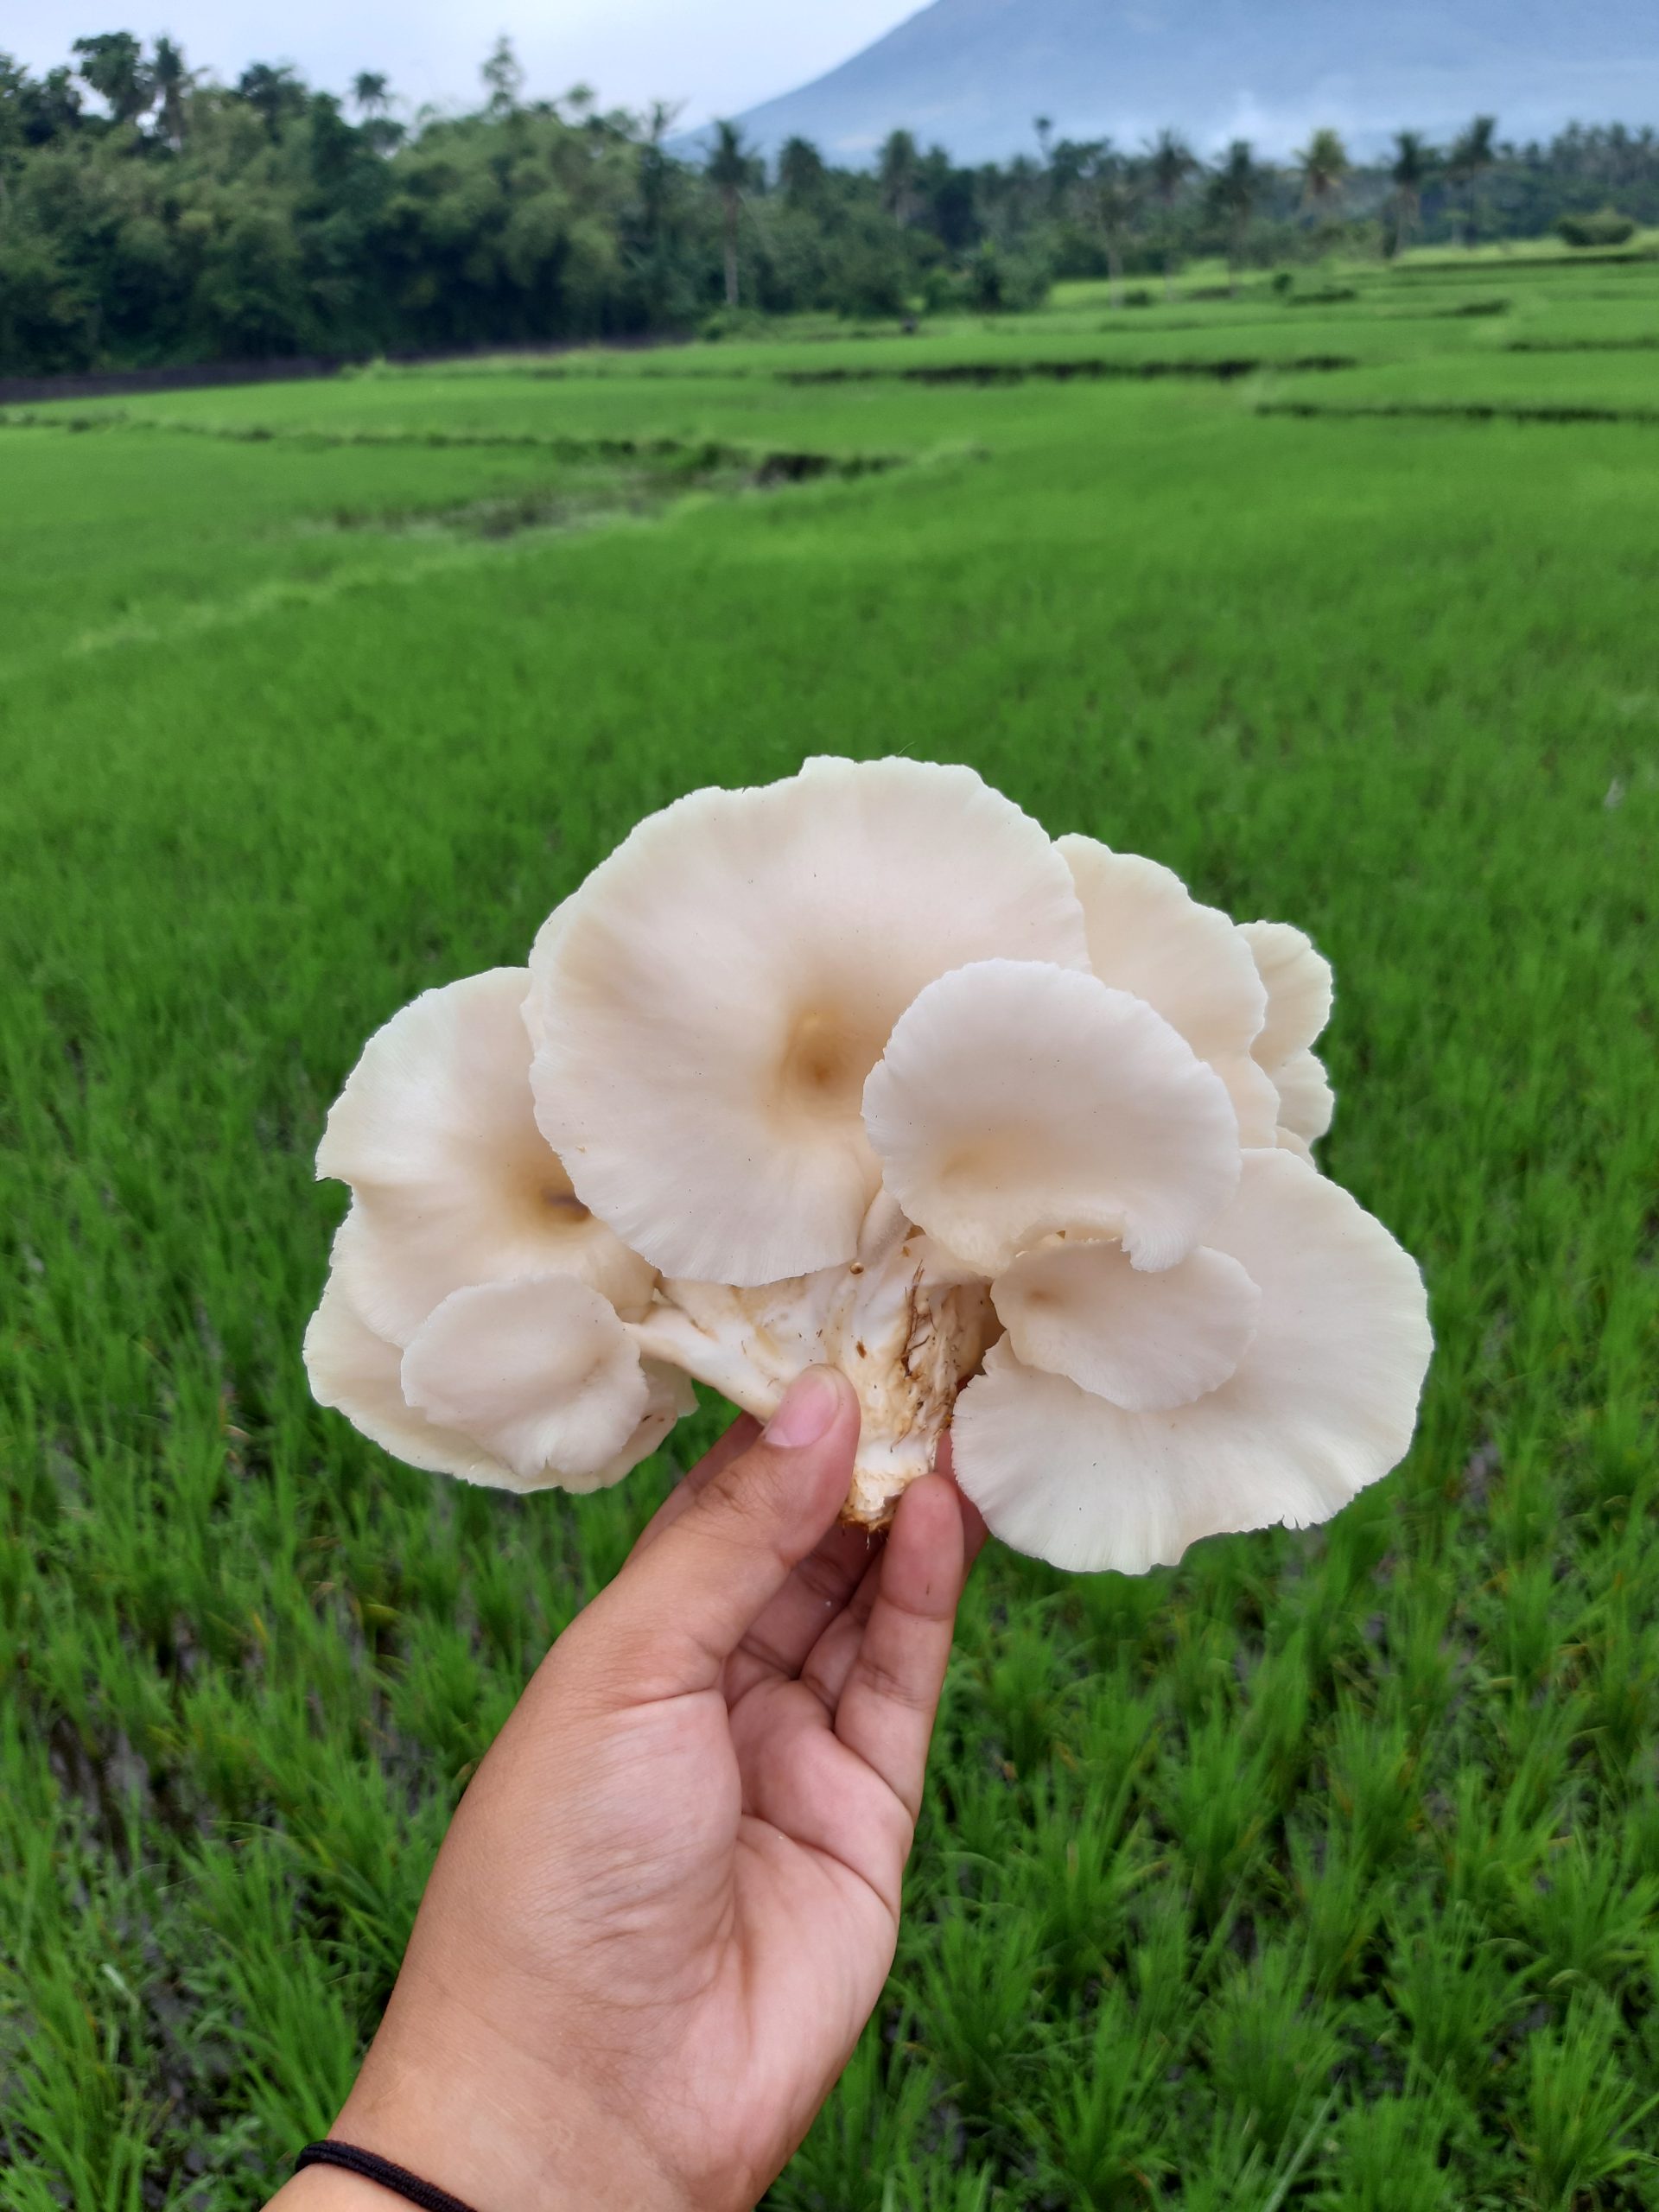
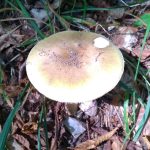
Image source: FrincesEzra, Wikimedia Commons, CC BY-SA 4.0.
Oyster mushrooms often need humid air while the caps develop, but they also need fresh-air exchange. A sealed chamber can trap carbon dioxide and produce long stems with small caps, while a strong fan or dry window draft can dehydrate the cluster. Use the ventilation method recommended for your kit and keep it away from direct sun and heaters. A hygrometer can help track trends, but observe the mushrooms too and change one factor at a time.
Mushrooms do not photosynthesize like plants, but many cultivated species use light as a developmental cue. Indirect room light may be enough for many oyster kits; direct sun can heat the block and dry the surface. Choose a stable place where the temperature suits the strain, the crop can receive appropriate fresh air, and water droplets will not damage furniture or electrical equipment.
Oyster clusters can expand quickly once pins form. Check them daily and harvest when most caps have developed but before they become overly flat or begin releasing large amounts of spores, following your strain’s guidance. Cut or twist the cluster off cleanly without tearing large areas of substrate. Refrigerate the harvest promptly in a clean container and cook the mushrooms before eating.
Many oyster blocks can produce additional flushes, but later yields may be smaller and the correct post-harvest routine depends on the kit. Some methods include a rest period or a controlled moisture step; others do not require soaking. Do not flood the block or constantly mist it without checking the instructions. If the block deteriorates or shows contamination signs, stop and dispose of it safely.
| Problem | Possible cause | First response |
|---|---|---|
| No pins | Block not ready, temperature mismatch, unsuitable fruiting conditions | Check maturity and supplier guidance |
| Long stems and small caps | Insufficient fresh-air exchange | Improve air exchange without a drying draft |
| Dry, cracked edges | Low humidity, heat, or direct airflow | Check location and moisture balance |
| Wet, slimy patches or foul smell | Possible contamination or excessive moisture | Isolate; do not open indoors |
| Slow colonization | Temperature, spawn, moisture, or substrate issue | Compare with the recommended range and process |
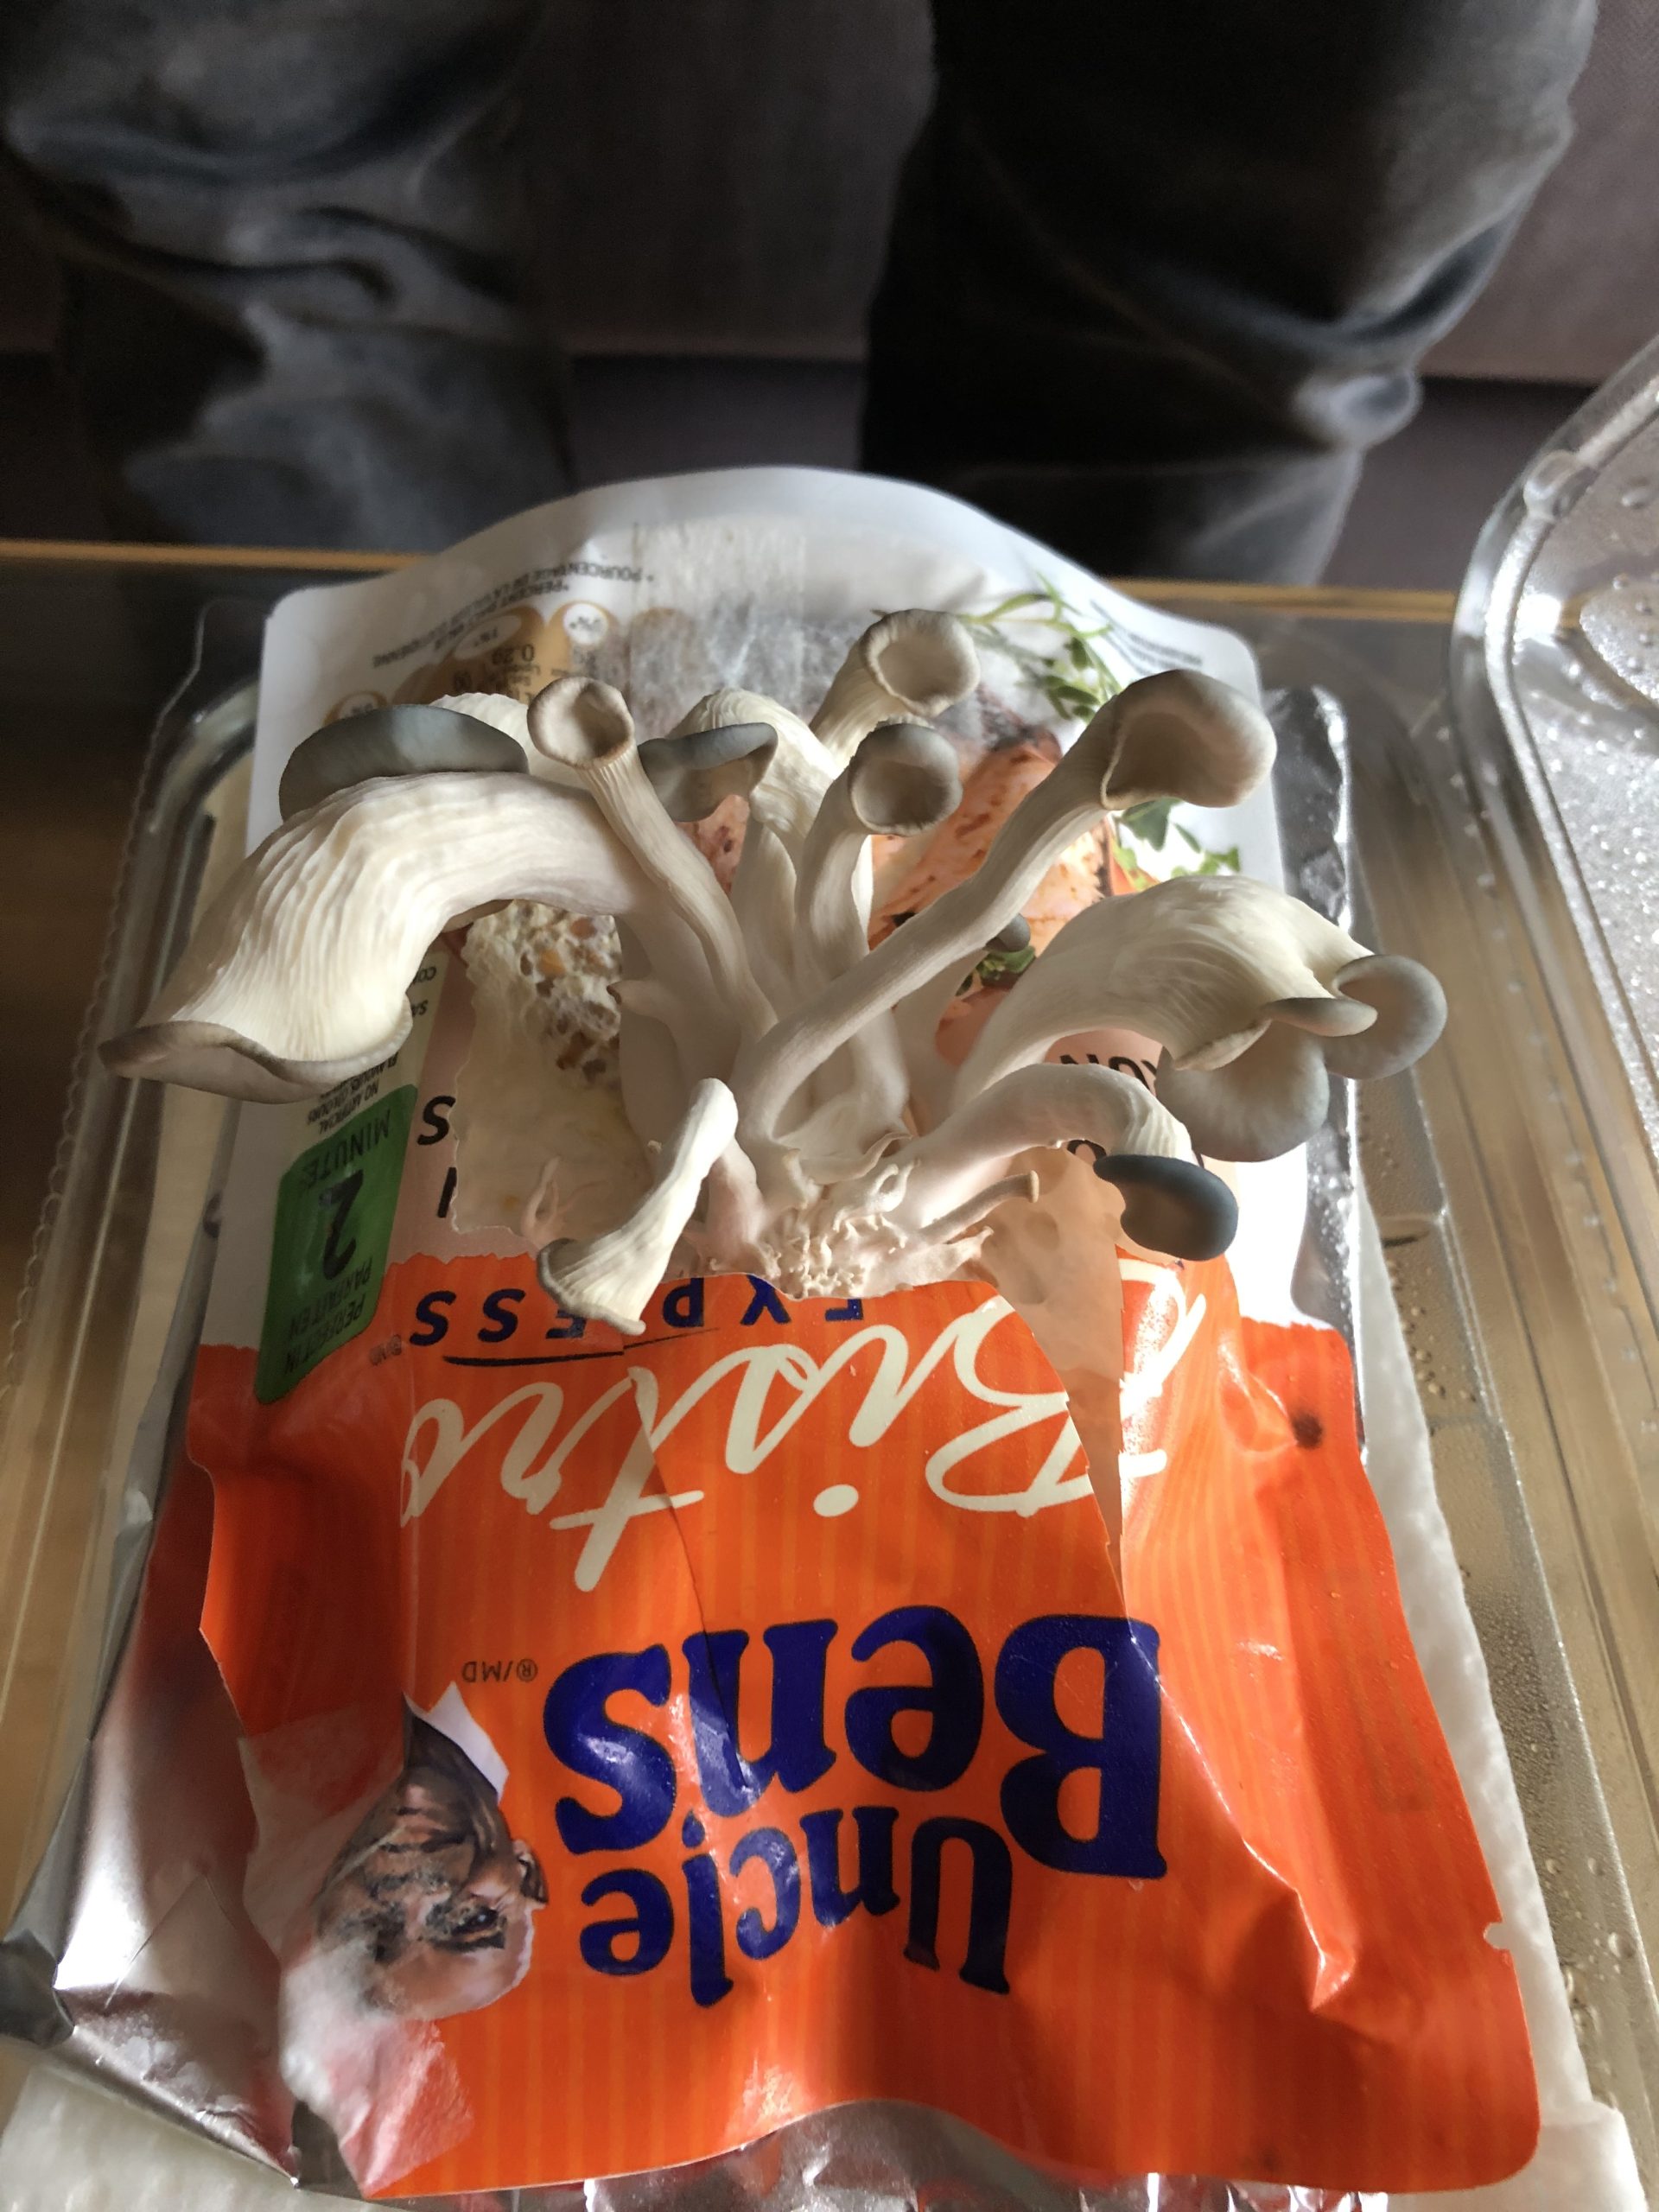
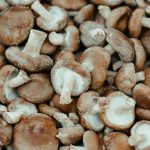
Image source: knotimpressed, Wikimedia Commons, CC0.
Record the strain, substrate, spawn source, start date, temperature, pinning date, harvest weights, and any changes to humidity or airflow. These notes help you learn whether the location and method are reliable. If you change substrate, strain, and environment all at once, it will be difficult to tell which factor affected the result. Repeat a successful method before scaling up.
Only eat mushrooms grown from a known culture on a suitable substrate and harvested from a healthy block. Do not eat mushrooms that appear unexpectedly in a pot, lawn, or contaminated bag. Cook oyster mushrooms thoroughly and refrigerate them promptly. If a grow becomes mouldy or develops an unusual odour, isolate it and avoid opening it indoors.
Start with a kit if you want to learn fruiting, or use purchased spawn and a documented substrate method if you want to learn the full process. Match the strain to your climate, balance humidity with fresh air, and record the results. For additional background, see our complete oyster mushroom guide and our guide to mushroom growing for beginners.

[…] plugged with cotton and covered with aluminium foil. If you’re new to spawn, our guide to growing oyster mushrooms is a good first project to use it […]