Physical Address
304 North Cardinal St.
Dorchester Center, MA 02124
Physical Address
304 North Cardinal St.
Dorchester Center, MA 02124

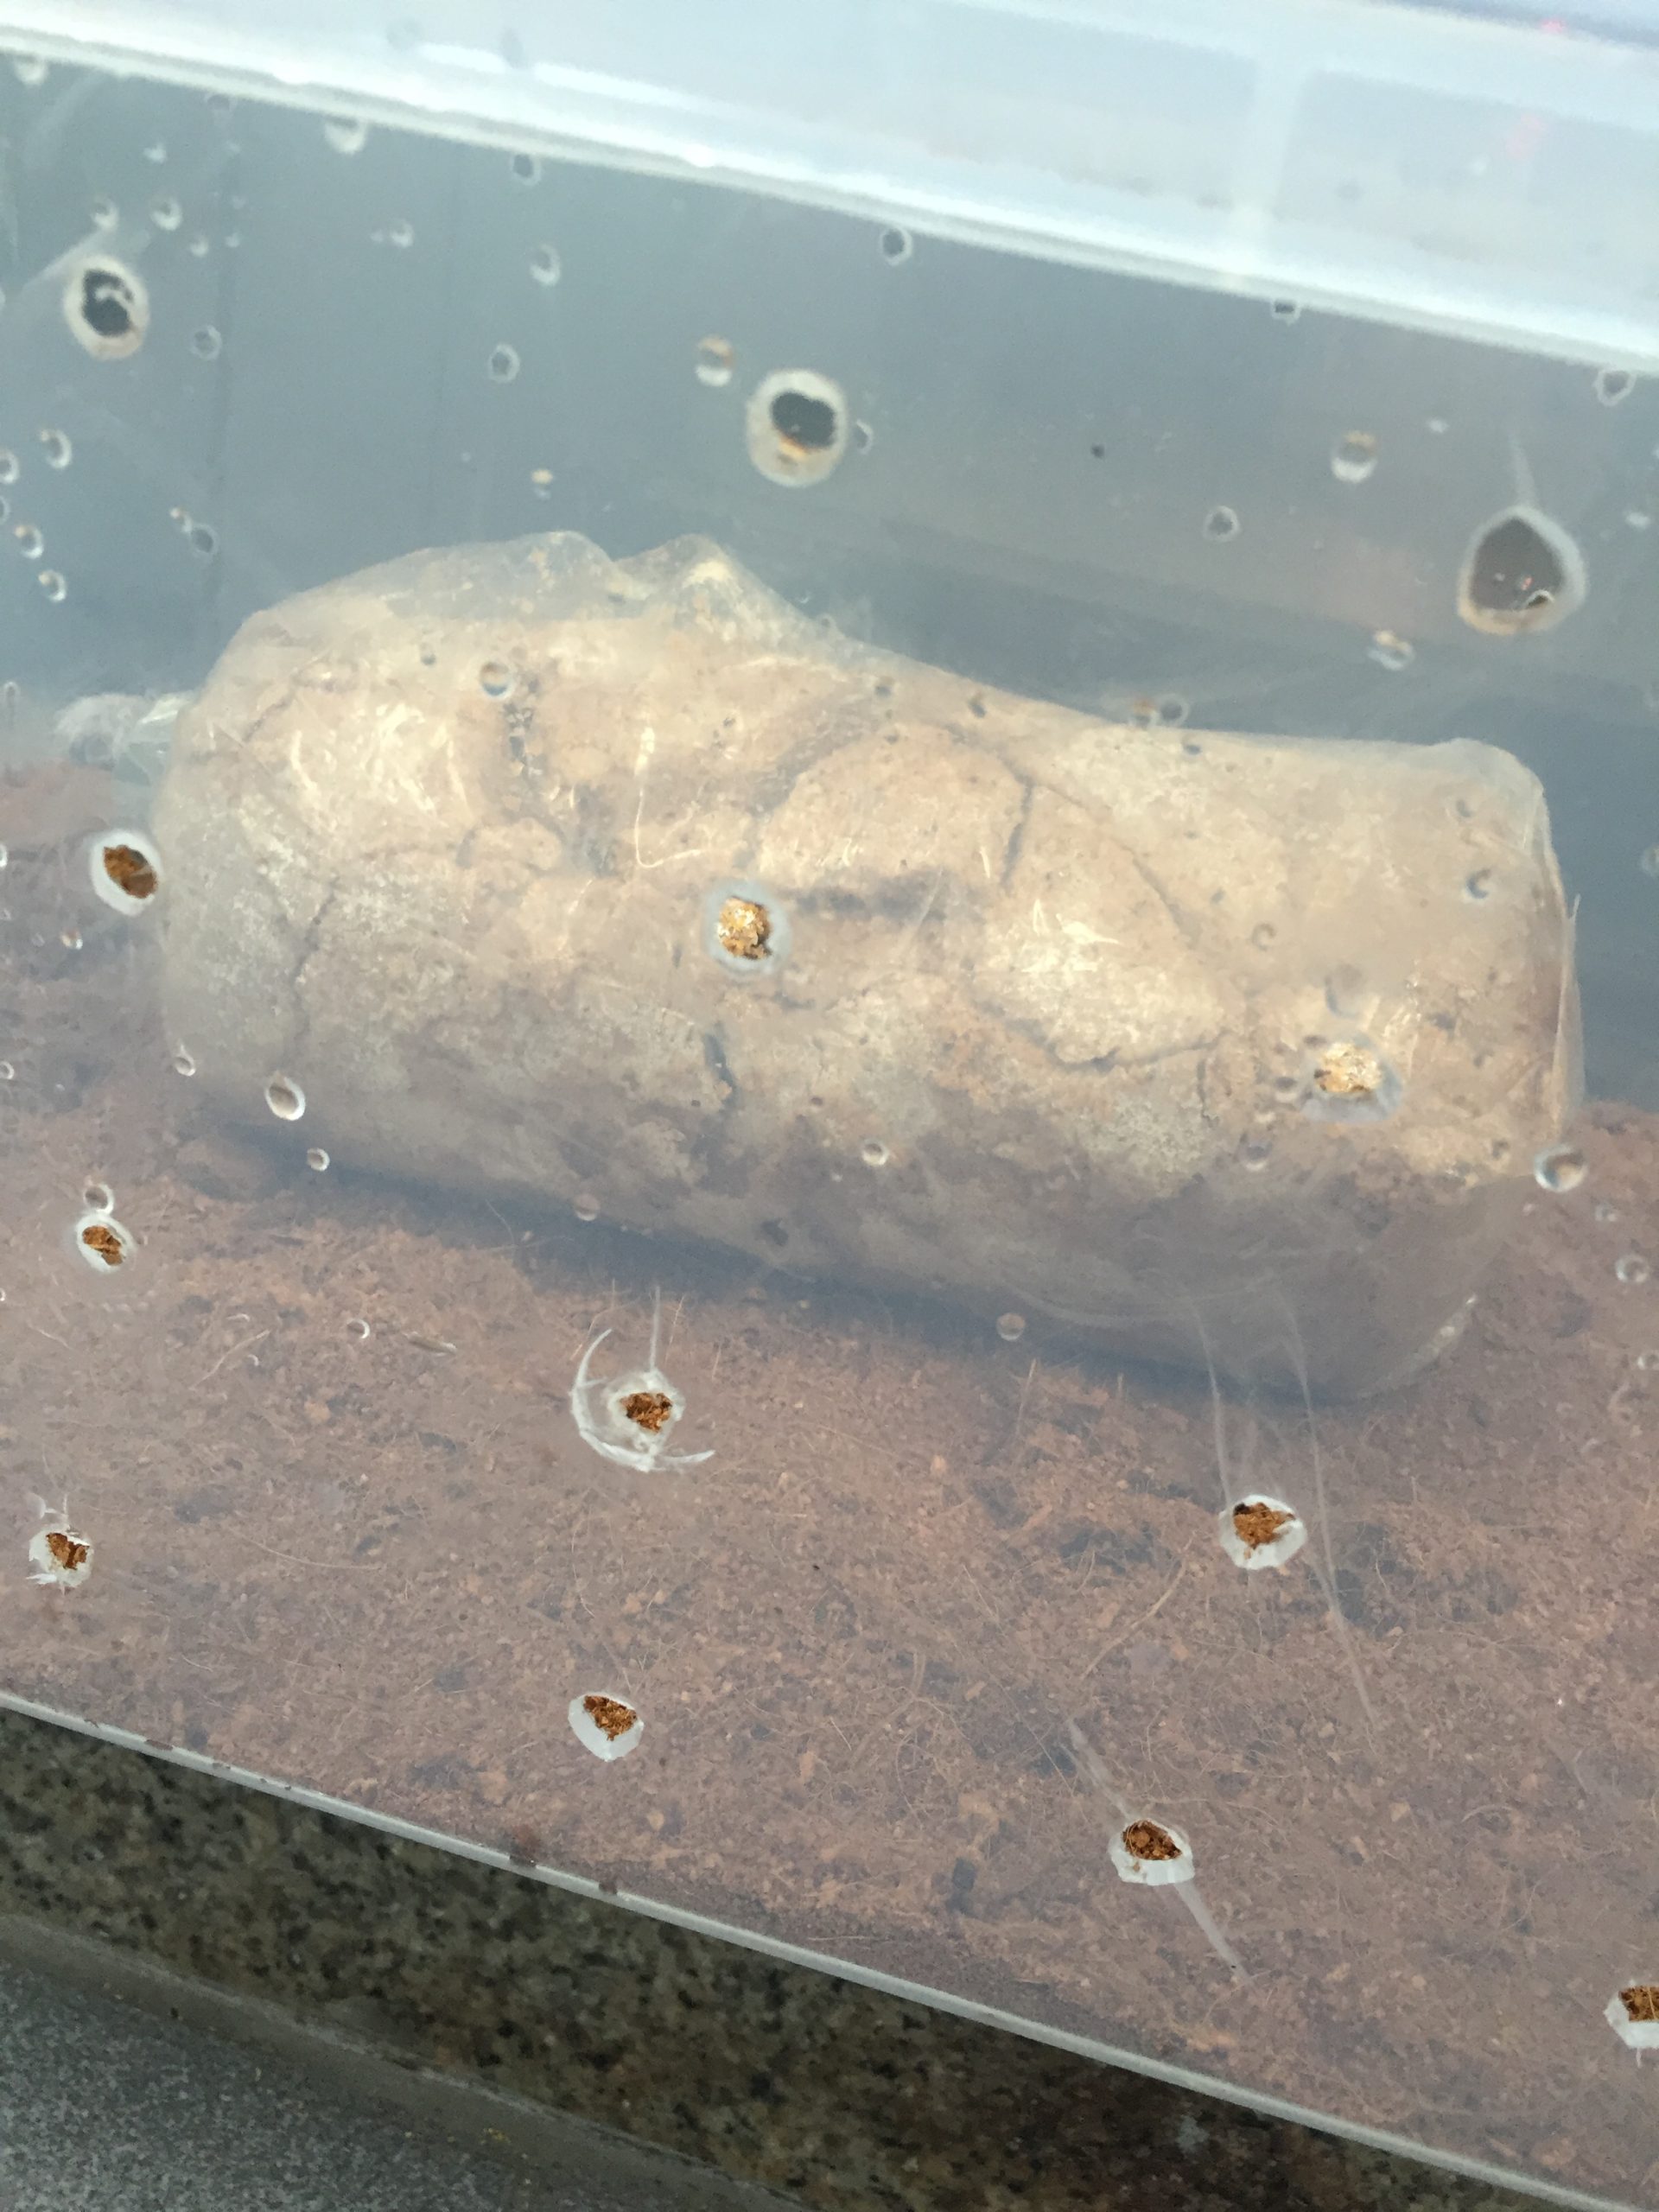
A beginner-friendly overview of low-cost mushroom fruiting chambers, including design choices, humidity, airflow, lighting, and cleaning.
A fruiting chamber creates a more predictable environment for mushrooms once the substrate is colonized and ready to produce fruit. It does not need to be expensive, but it does need to balance moisture, fresh air, cleanliness, and access for observation. The right design depends on the mushroom species, the size of the block, and whether you are growing one kit or several blocks at once. A chamber that works for one small kit may not provide enough air exchange for a larger cluster.
For a single ready-to-fruit kit, the supplier’s bag or a simple clean enclosure may be all you need. A larger hobby setup might use a washable plastic storage tote, a small rack, or a purpose-built tent. Choose a container that can be cleaned, is easy to inspect, and lets you provide fresh air without constantly opening it. Avoid materials that shed fibres, hold persistent grime, or cannot be cleaned adequately.
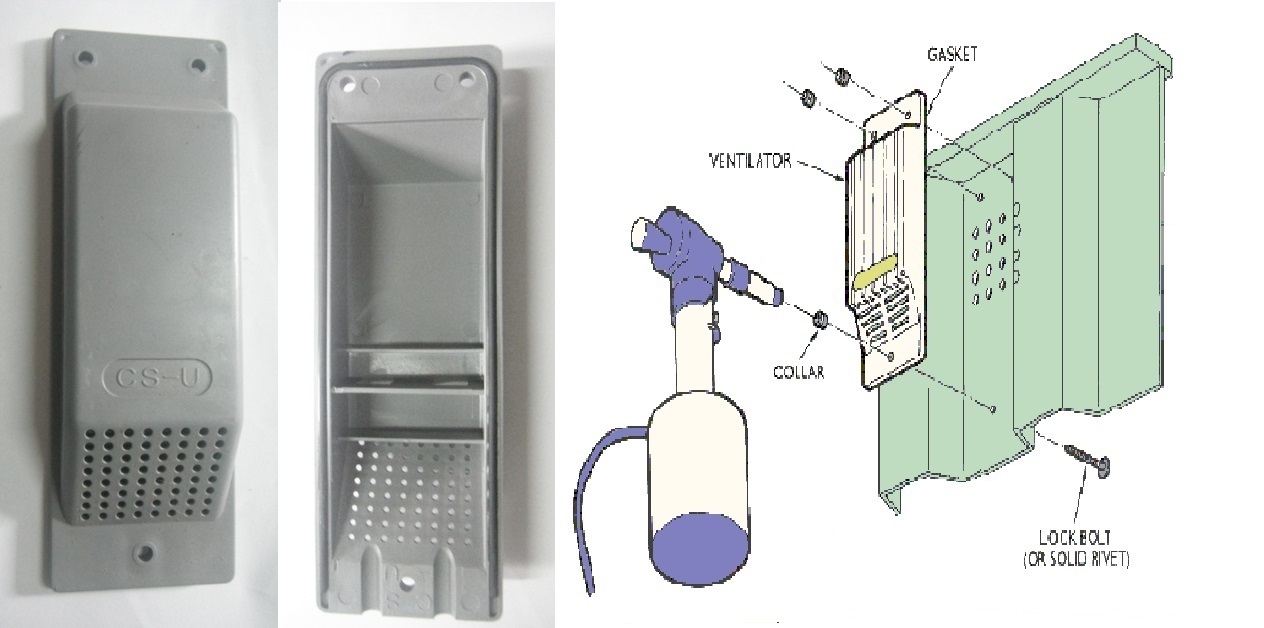
Image source: Wikimedia Commons — see the file page for author and license details.
One common mistake is making a chamber nearly airtight to keep humidity high. Mushrooms also need fresh-air exchange; excessive carbon dioxide can cause abnormal growth in some species, such as long stems or small caps in oyster mushrooms. Openings, passive vents, or carefully managed fan-assisted exchange can help, but the amount depends on species and chamber volume. Do not direct a strong dry fan at the fruiting surface, because it can dry pins and caps.
High relative humidity can help prevent young mushrooms from drying, but constant wetness on the fruiting surface is not the goal. A chamber can be humid while still having air exchange. Use a hygrometer as a guide, remembering that inexpensive sensors can be inaccurate and may respond slowly. Observe the mushrooms too: dry, cracked edges may indicate excessive drying, while persistent wetness and poor airflow can contribute to problems. Follow species-specific guidance rather than chasing one humidity number for every mushroom.
Many commonly cultivated mushrooms need some light as a developmental cue, but direct sun can overheat a small chamber and dry the surface. Place the setup away from hot windows, radiators, kitchens with grease-laden air, and places where it can be knocked over. Ordinary indirect room light may be adequate for many kits; check the strain or supplier instructions before buying special lighting.
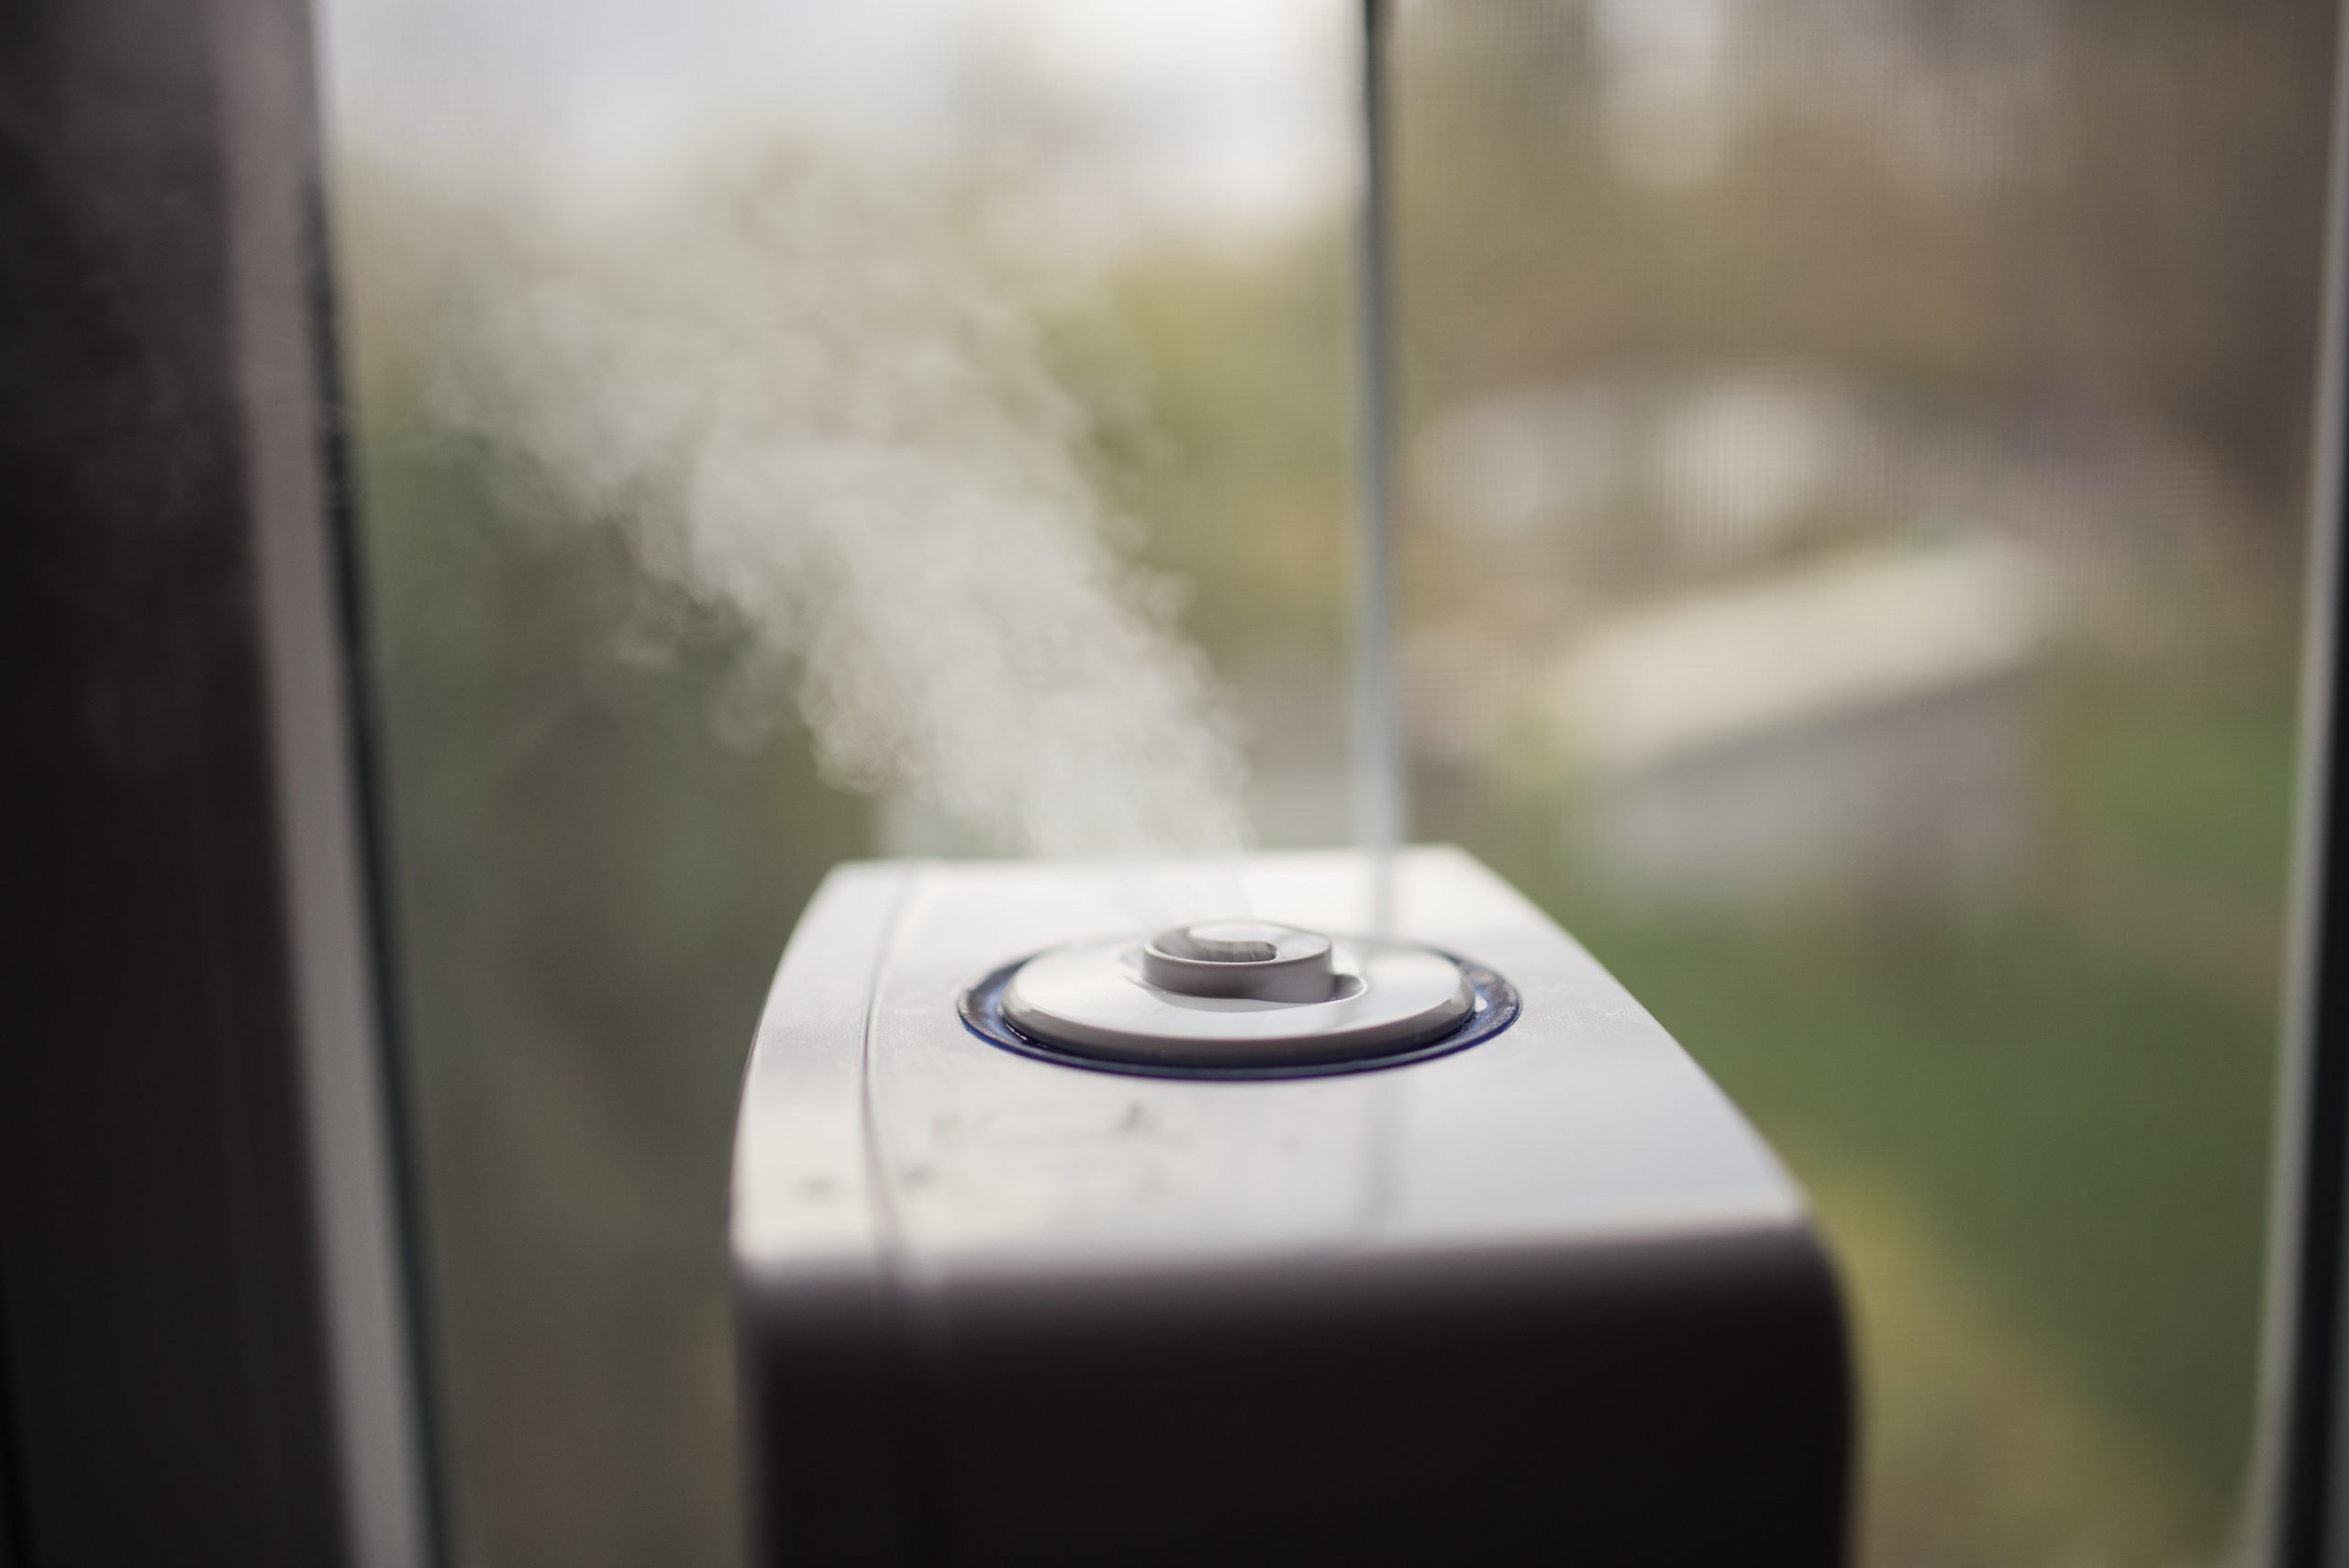
Image source: Shixart1985, Wikimedia Commons, CC BY 2.0.
If a tote is appropriate for your species and scale, choose a sturdy container with enough headroom for the developing cluster. Make any ventilation openings deliberately and keep sharp edges away from the block. Do not add standing water where the substrate can sit in it. If you use a humidifying layer or tray, make sure it can be cleaned and does not become a stagnant reservoir. A tote is not automatically a “set-and-forget” environment: inspect it daily and adjust based on what the mushrooms show.
Check temperature, look at the surface and pins, and note whether the chamber smells normal. Mist only when appropriate, and avoid spraying directly into a dense cluster if it leaves water sitting on the caps. If mushrooms become elongated with small caps, assess fresh-air exchange before increasing humidity. If edges dry or pins abort, review humidity, drafts, and temperature. Change one factor at a time and record what happened so you can learn which adjustment helped.
Clean the chamber between batches and remove spent substrate according to the supplier’s instructions. If a block develops suspicious mould or a strong unpleasant smell, isolate it and avoid opening it in a living area. Do not spray disinfectant onto growing mushrooms or the substrate unless the product instructions explicitly permit that use. Keep the setup away from food preparation surfaces, pets, and small children.
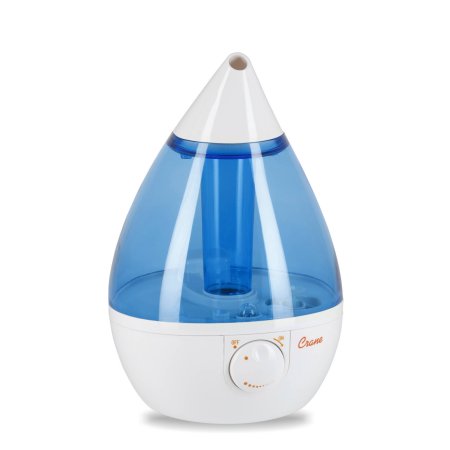
Image source: Roecrew, Wikimedia Commons, CC BY-SA 4.0.
Condensation everywhere: this can reflect temperature differences, not just ideal humidity. Improve stability and avoid unnecessary water. Dry surface: check for a direct draft, warm location, or inadequate humidity before misting more heavily. Long stems and small caps: consider insufficient fresh air, particularly with oysters. Slow growth: check species-specific temperature, block maturity, and kit instructions before adding equipment. Recurring contamination: review substrate preparation and handling rather than assuming the chamber alone is responsible.
Upgrade only when you can identify a limitation. If one kit fruits well, more equipment may not improve results. If you expand to several blocks, you may need better control over air exchange, humidity distribution, cleaning, and monitoring. Keep a simple log of harvest weight and conditions before spending on automated controllers. A reliable, easy-to-clean setup is more useful than a complicated chamber that is difficult to maintain.
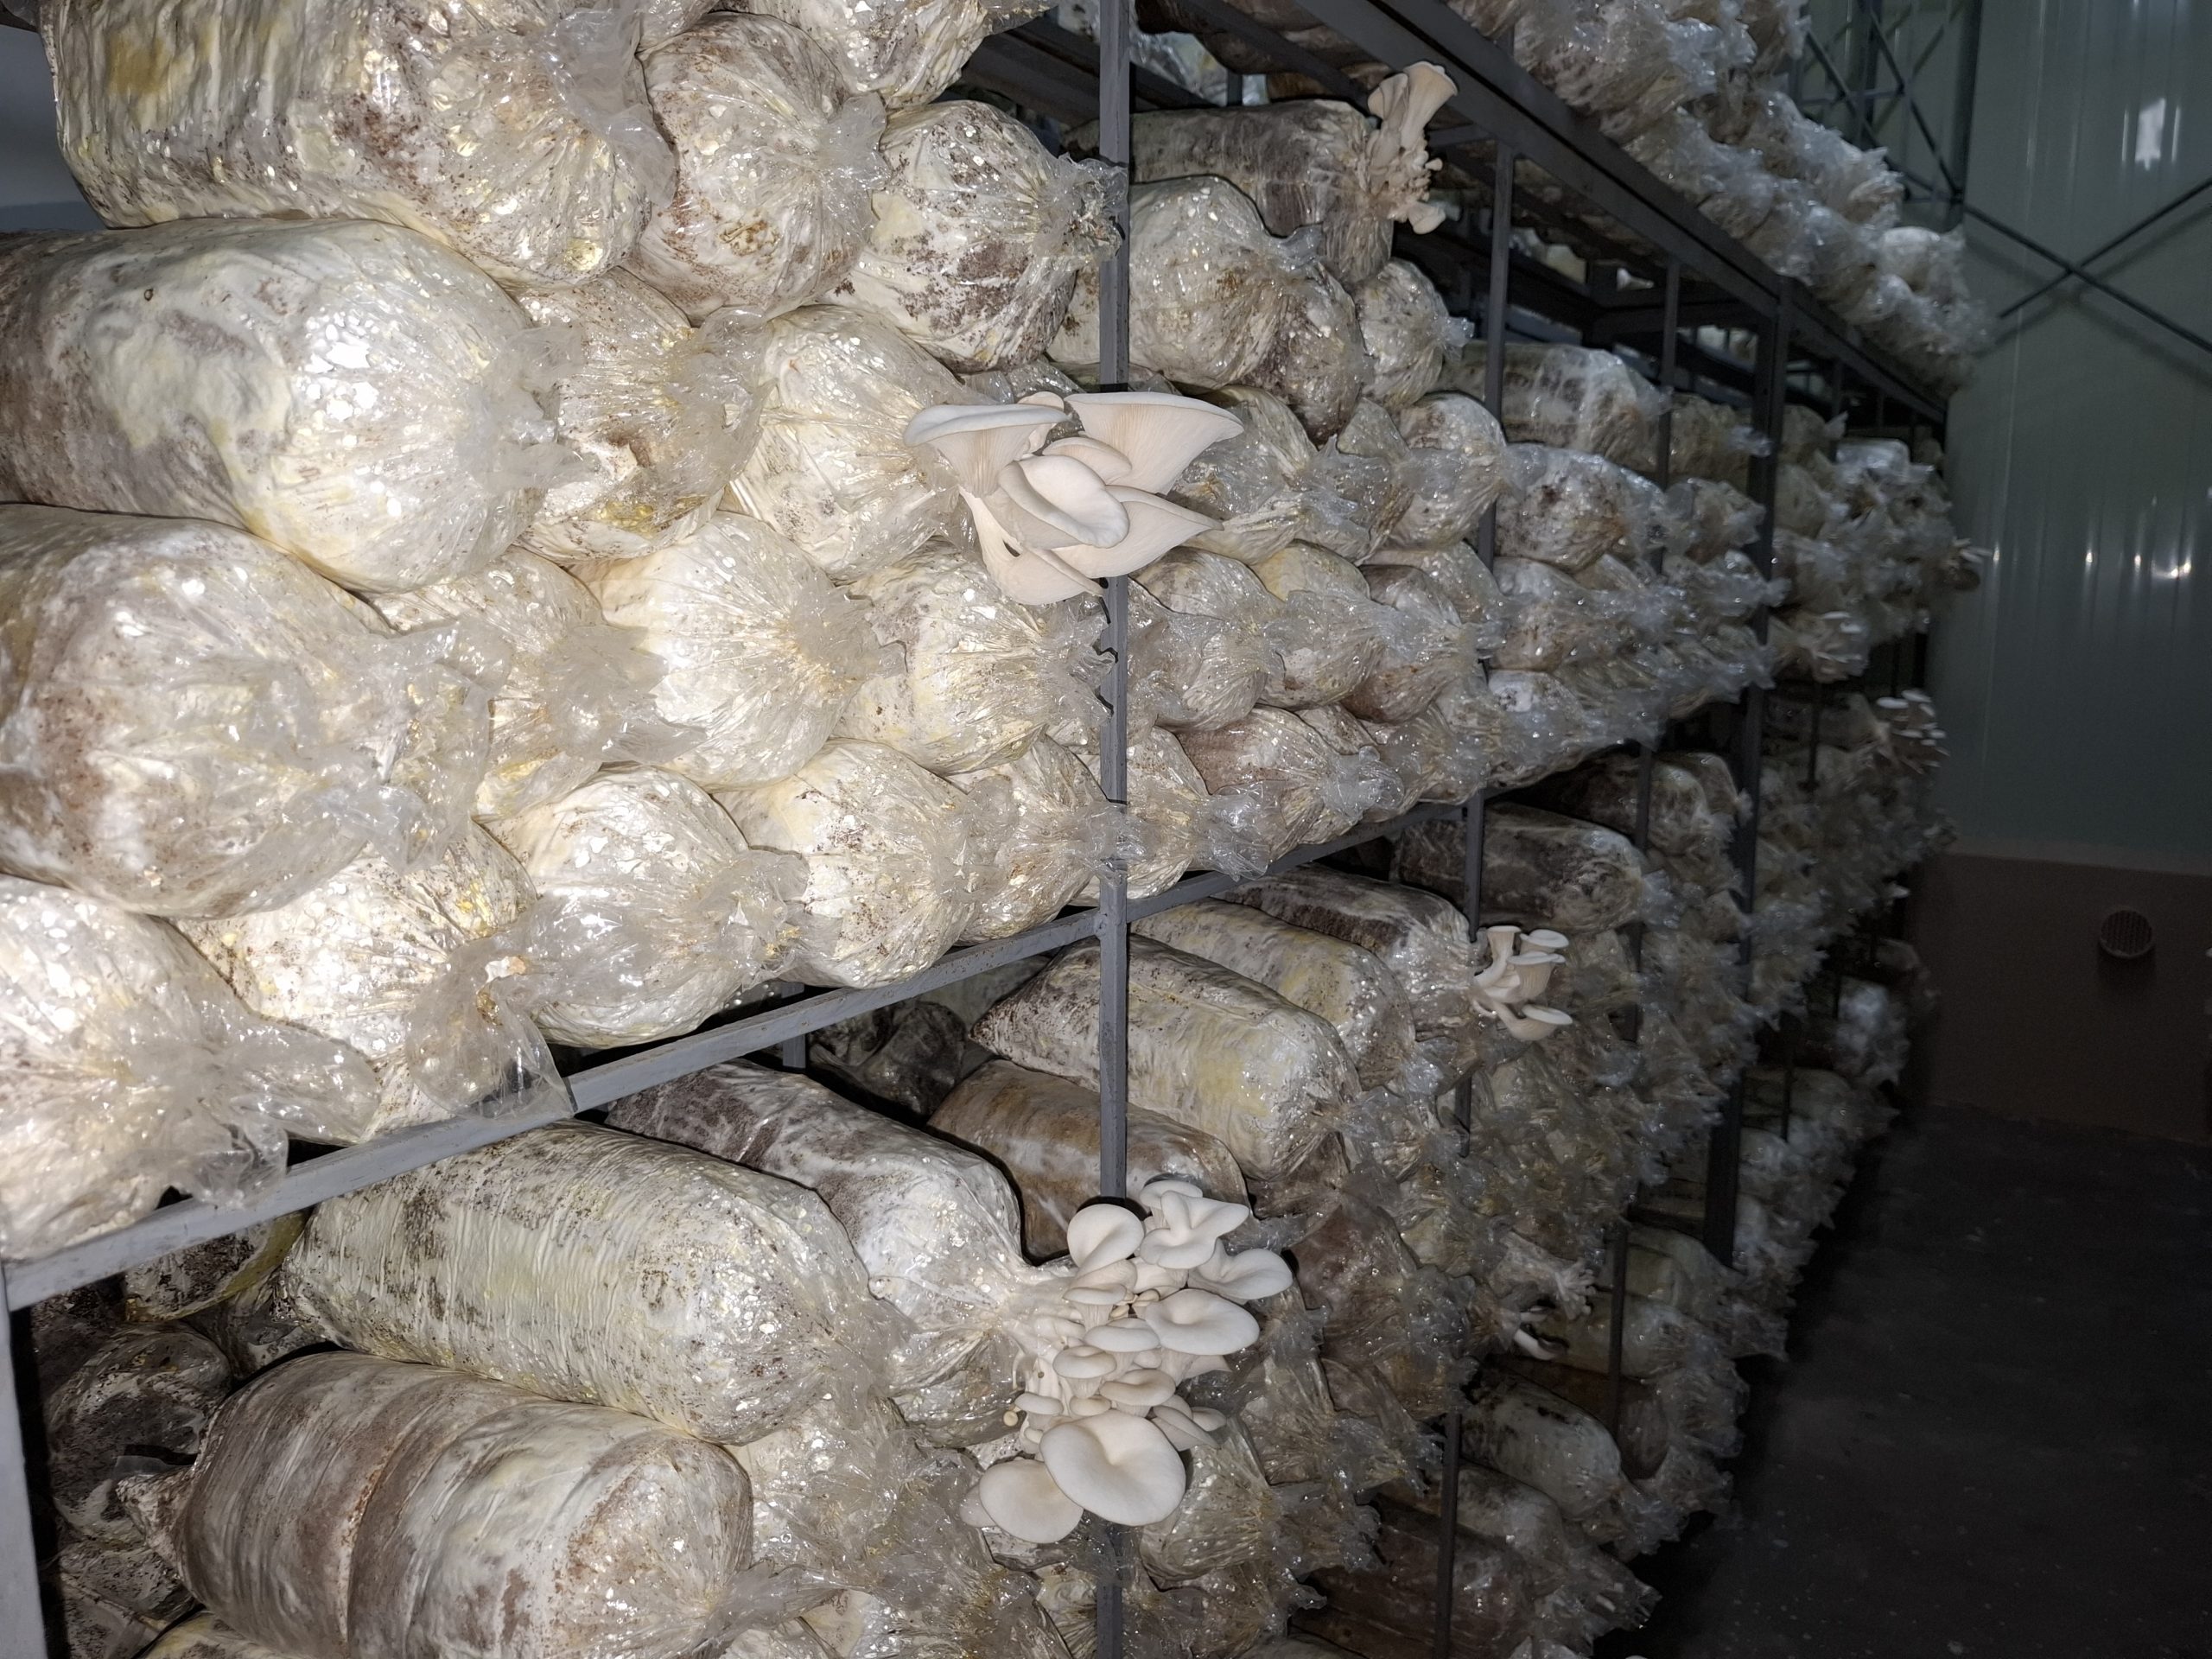
Image source: MarvinBikolano, Wikimedia Commons, CC BY-SA 4.0.
A budget fruiting chamber should provide a stable, clean space with appropriate humidity, fresh air, and light. Start with the simplest design that fits your species, monitor the actual conditions, and adjust based on observed growth. For species-specific requirements, use our oyster mushroom guide and lion’s mane overview alongside the instructions for your exact strain.