Physical Address
304 North Cardinal St.
Dorchester Center, MA 02124
Physical Address
304 North Cardinal St.
Dorchester Center, MA 02124

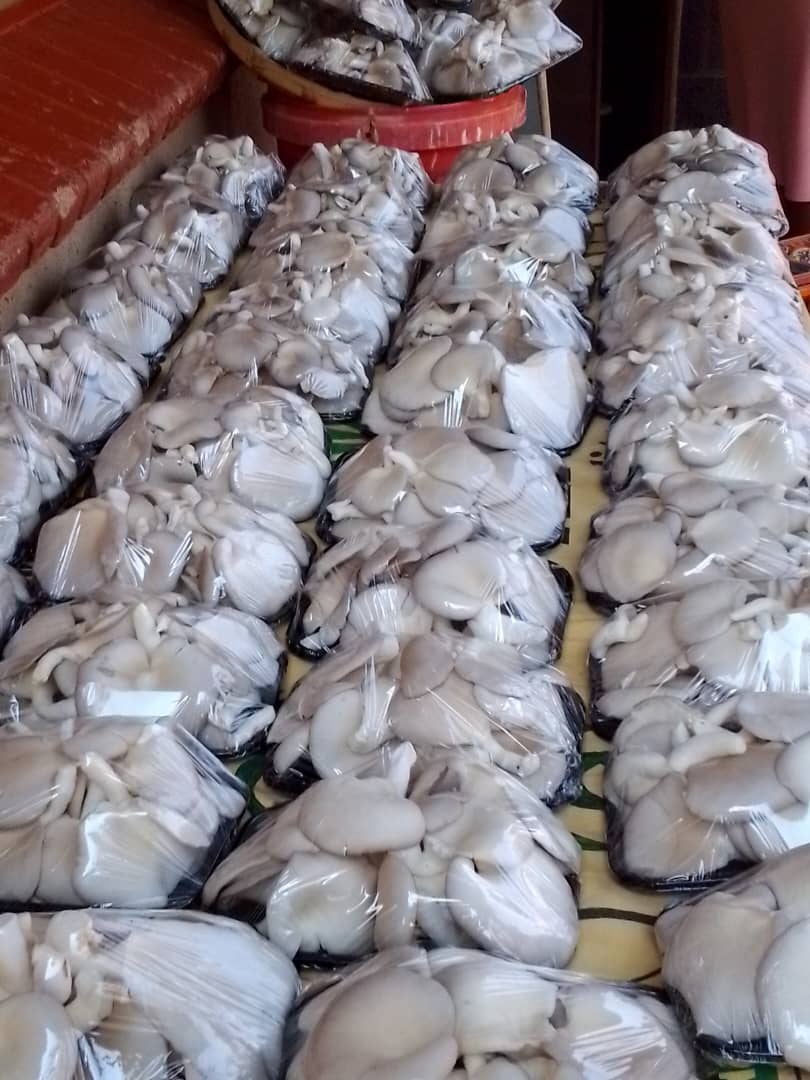
New to mushroom growing? Learn which species to choose, whether to use a grow kit, the basic equipment and conditions you need, and how to avoid common beginner mistakes.
Mushroom growing can be a manageable home project if you start with one species, a suitable method, and realistic expectations. You do not need a laboratory to grow a ready-made kit, but growing from spawn and raw substrate adds more steps and more opportunities for mistakes. The best first project is not necessarily the most unusual mushroom or the one advertised with the biggest harvest. It is the one that fits your space, temperature, time, and willingness to learn.
If your goal is to harvest mushrooms for dinner, a ready-to-fruit kit is usually the simplest route. The substrate has already been colonized, so you can focus on the fruiting environment and harvest timing. If you want to understand the full cultivation process, buy identified spawn and follow a tested substrate recipe. Preparing your own substrate can reduce costs over repeated batches, but it requires more equipment, careful handling, and patience.
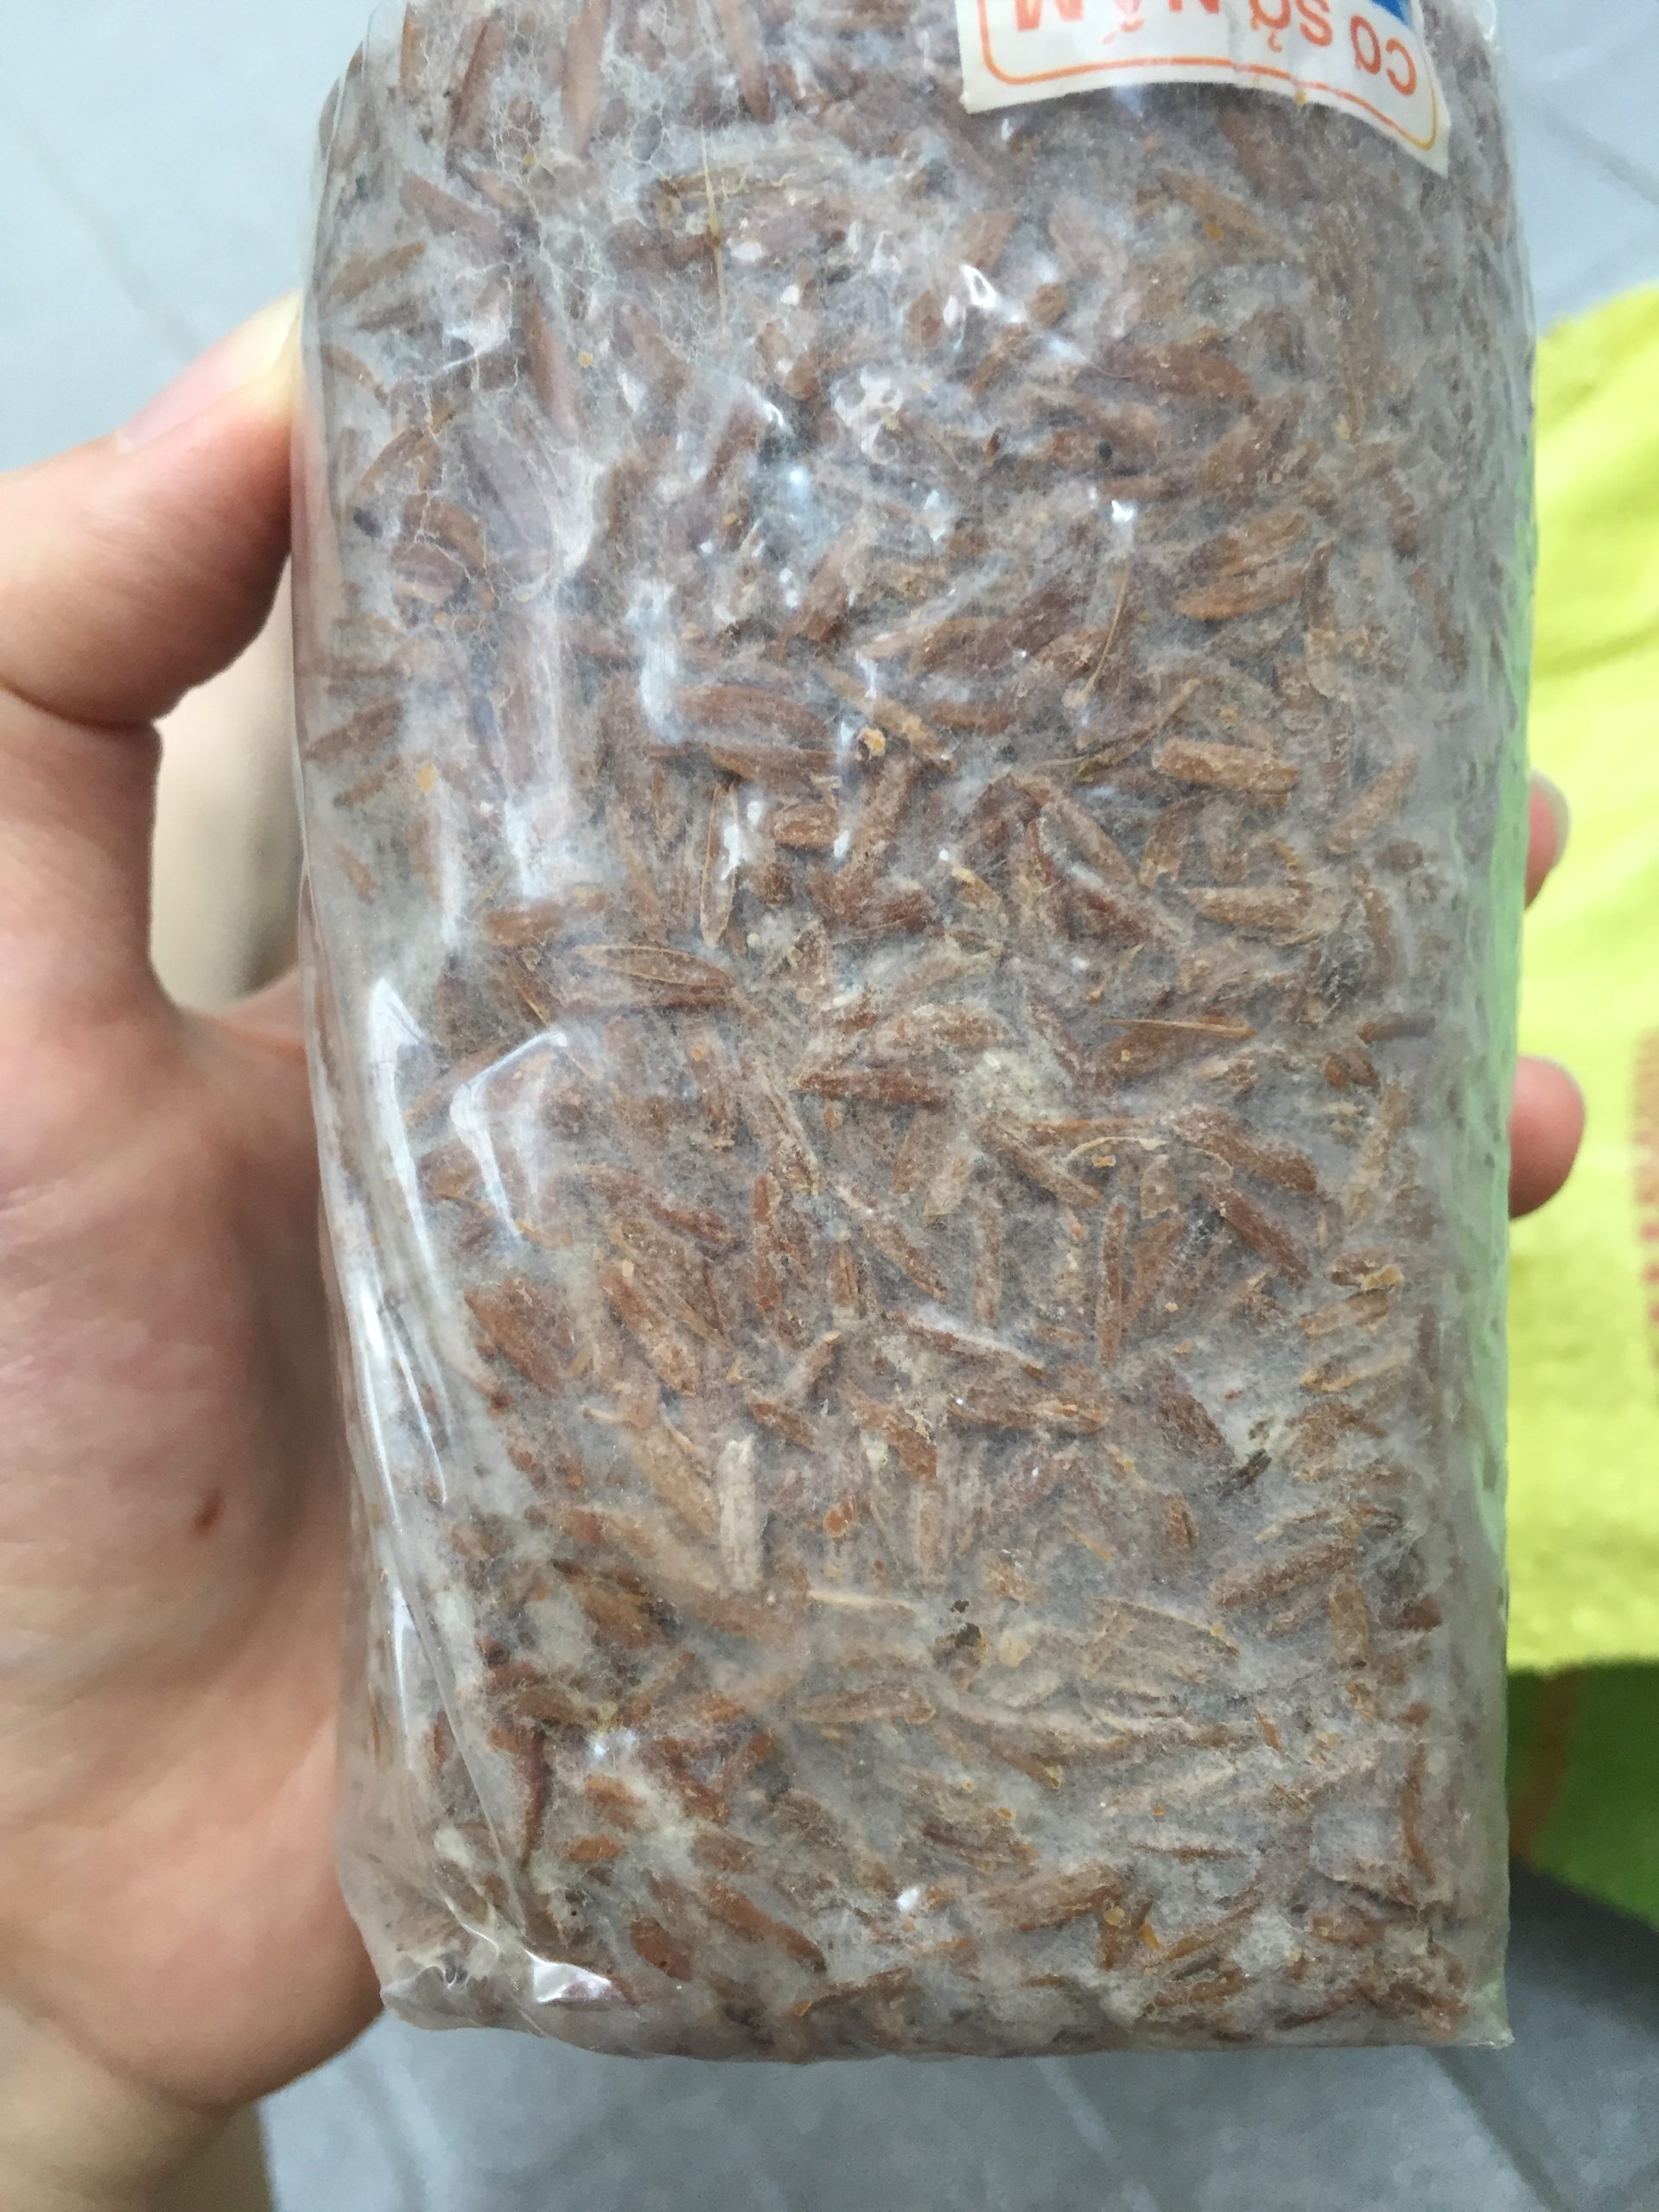
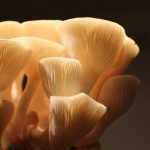
Image source: Zenyrgarden, Wikimedia Commons.
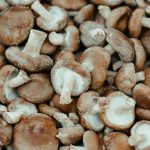
Oyster mushrooms are a common starting point because many strains grow on suitable plant-based substrates and can produce clusters relatively quickly. Lion’s mane is appealing for its distinctive shape and culinary texture, but it needs a suitable hardwood-based block and careful fruiting conditions. Shiitake can be grown on prepared sawdust blocks or hardwood logs; logs are a longer-term project and may take many months to establish. Match the strain to your actual indoor temperature instead of assuming that every mushroom with the same common name has identical requirements.
A kit reduces the number of variables because the supplier has already prepared the culture and substrate. It is a useful way to learn how humidity, fresh air, light, and harvest stage affect the crop. A prepared block that needs only fruiting care is similar. Growing from scratch usually involves choosing spawn, preparing substrate, inoculating it, allowing colonization, and then changing conditions for fruiting. The extra steps are educational, but they make it harder to identify the cause when a batch fails.
For a single kit, you may need only the kit itself, a cleanable tray or surface, a thermometer, and whatever the supplier recommends for humidity and ventilation. A hygrometer can help track humidity trends, although inexpensive sensors are not always precise. You may not need a tent, humidifier, fan, or automated controller. Buy additional equipment only when you can identify a specific limitation in your current setup.
Place the grow where temperature is reasonably stable and you can inspect it easily. Avoid direct sunlight, heaters, hot windows, cooking grease, and strong drafts. The air beside a window or on top of an appliance may be much warmer than the centre of the room. Measure conditions near the block and check them at different times of day. If your home is very hot or dry, a different season or a strain suited to your climate may be a better choice than fighting the room with equipment.
Most systems move through several stages. First, the fungus grows through its substrate during colonization. Once the block is mature, the fruiting environment encourages pins to form. Pins expand into mushrooms, which are harvested at the recommended stage. Some blocks can produce later flushes, but later yields may be smaller. A ready-to-fruit kit skips much of the early process; a DIY bag or log project may require a much longer wait.
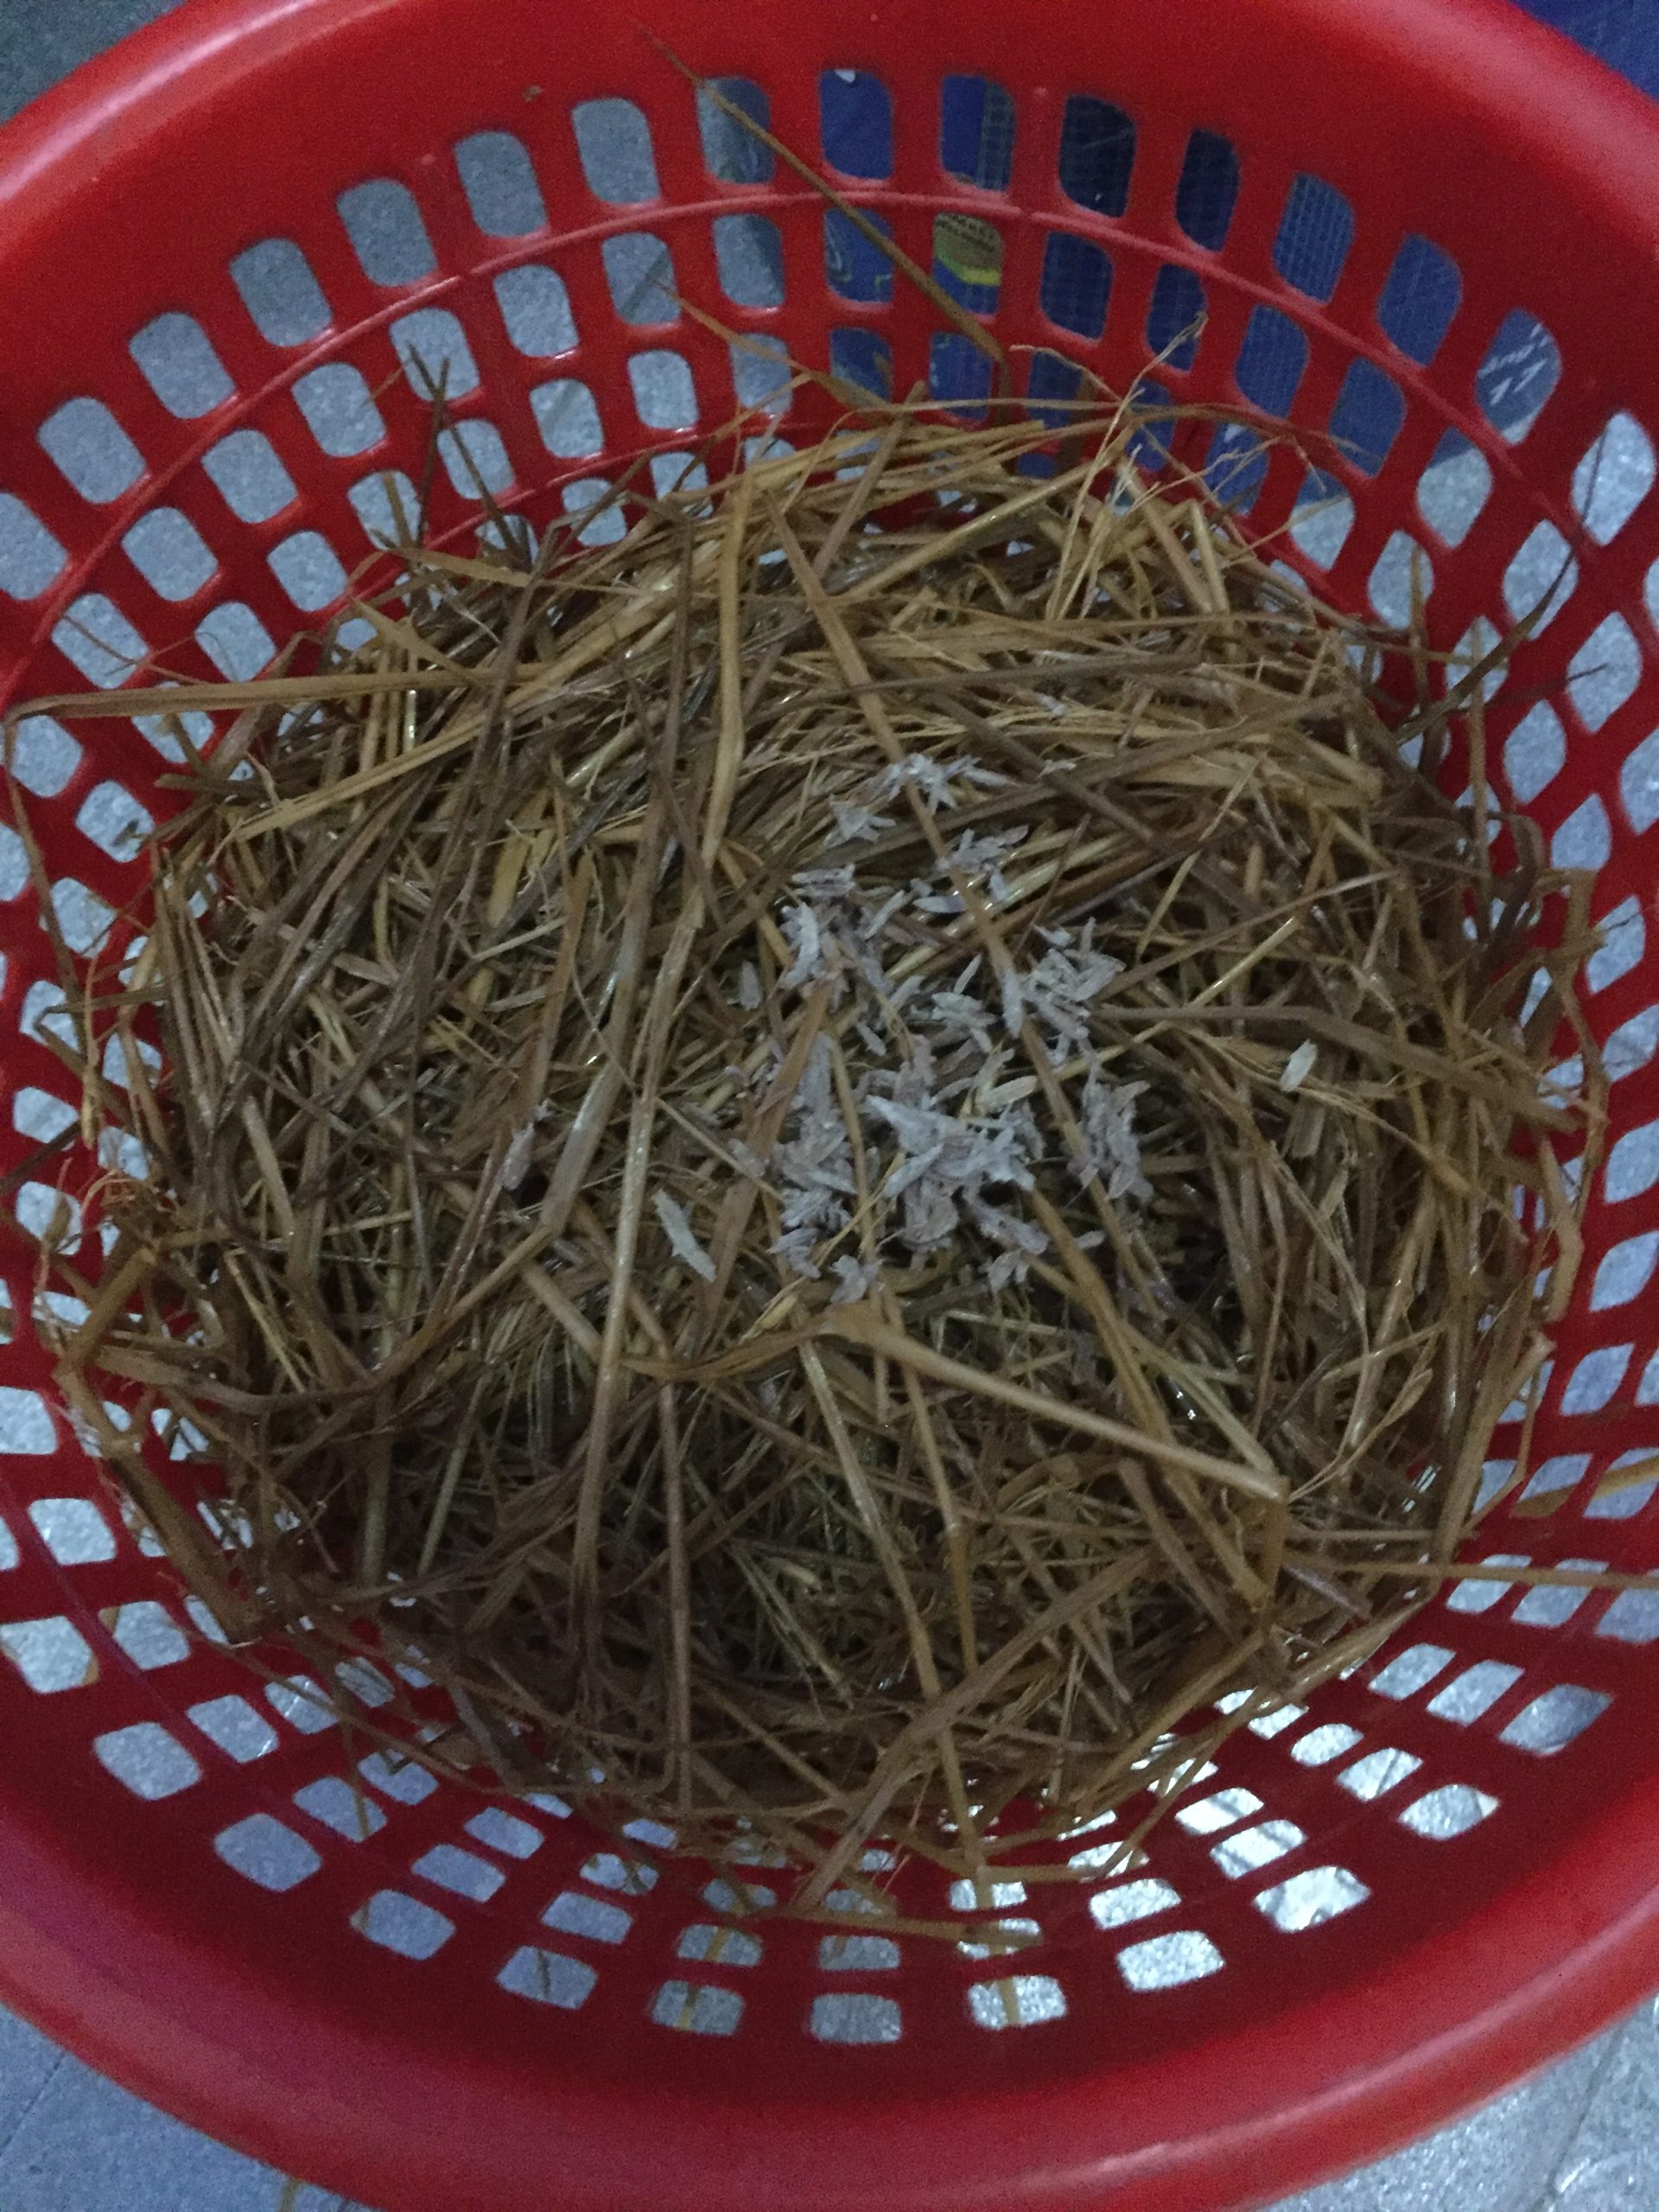
Image source: Zenyrgarden, Wikimedia Commons, CC BY-SA 4.0.
Young mushrooms can dry out when the air is too dry or a fan blows directly at the fruiting surface. However, constant wetness and standing water can create other problems. Use the watering or humidity method supplied with the kit. Observe the surface and developing mushrooms rather than spraying repeatedly without checking conditions. If the crop is drying, review the location and airflow before adding more water.
Mushrooms respire, so a fruiting chamber that is sealed too tightly can accumulate carbon dioxide. In some oyster strains, insufficient fresh air can cause long stems and small caps. At the same time, strong airflow may dry the crop. Many cultivated mushrooms also use light as a developmental cue, although they do not photosynthesize like plants. Indirect room light is often enough for a beginner kit; follow the species-specific guidance and avoid direct sun that heats the block.
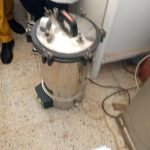
Use healthy spawn from a reliable source and keep tools and surfaces clean. If preparing substrate yourself, use a validated method suited to that substrate and species. Pasteurization and sterilization are not interchangeable, and a process designed for straw may not suit supplemented sawdust. If a block develops unusual colours, slimy patches, damaged packaging, or a strong unpleasant smell, isolate it and contact the supplier. Do not open a suspicious mouldy bag in a living area or attempt to rescue it by scraping off the visible patch.
There is no single timeline for every mushroom. A kit may fruit within days or weeks after setup, while a bag inoculated from spawn needs colonization time first. Logs may take many months before they are ready to fruit. Temperature, strain, substrate, moisture, and the stage at which you start all affect the timeline. Use the supplier’s guidance as a planning range rather than a guarantee, and do not make drastic changes just because a grow is slower than an online example.
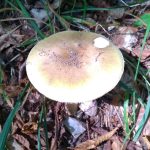
Check the crop daily as it approaches maturity, because some mushrooms expand quickly after pins appear. Harvest at the stage recommended for your species, using a clean knife or careful twisting method that avoids damaging the substrate. Move the harvest into a clean container and refrigerate promptly if you are not cooking it straight away. Cook cultivated mushrooms appropriately, and never eat mushrooms that appear unexpectedly in a pot or lawn simply because they resemble your crop.

Image source: American Spawn Company historical illustration, Wikimedia Commons.
Write down the species and strain, supplier, start date, substrate if known, room temperature, any changes to humidity or ventilation, the date pins appeared, and the weight of each harvest. These notes help you compare results and identify patterns. If a batch fails, the log can show whether the problem followed a heat wave, a new substrate recipe, or a different spawn source. Repeating a successful method is often more valuable than trying many new variables at once.
Only eat mushrooms grown from a known, healthy culture on a suitable substrate. Do not eat a mushroom from a contaminated block or an unidentified fungus that appears nearby. Store and cook the harvest safely. Growing mushrooms can be rewarding, but a failed kit is possible even when you follow instructions; choose a reputable supplier and treat the first attempt as a way to learn the process.
Start with one species and a method that matches your space. If you want a relatively quick first harvest, explore our complete oyster mushroom guide. If you are interested in longer-term wood growing, read our shiitake overview. For a distinctive indoor crop, our lion’s mane guide explains the mushroom’s background. Then choose one approach, follow the instructions for your exact strain, and record what happens.